


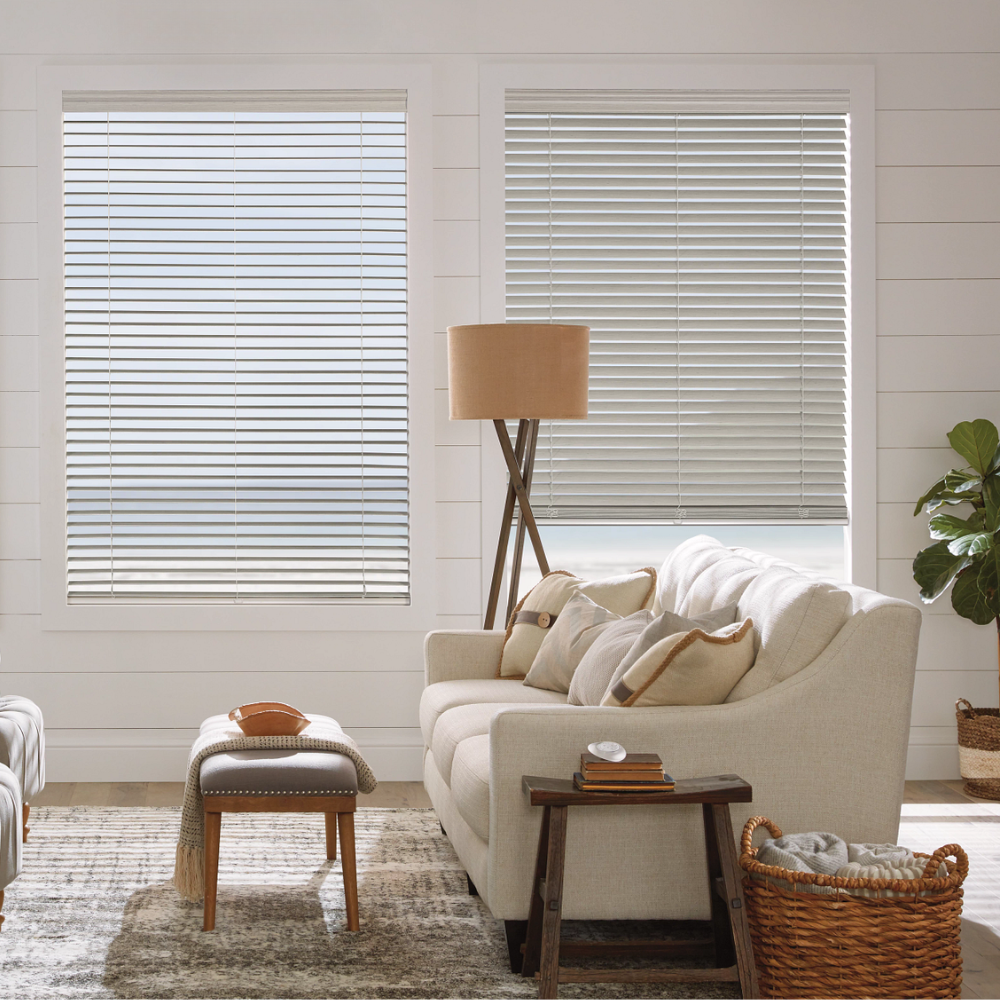


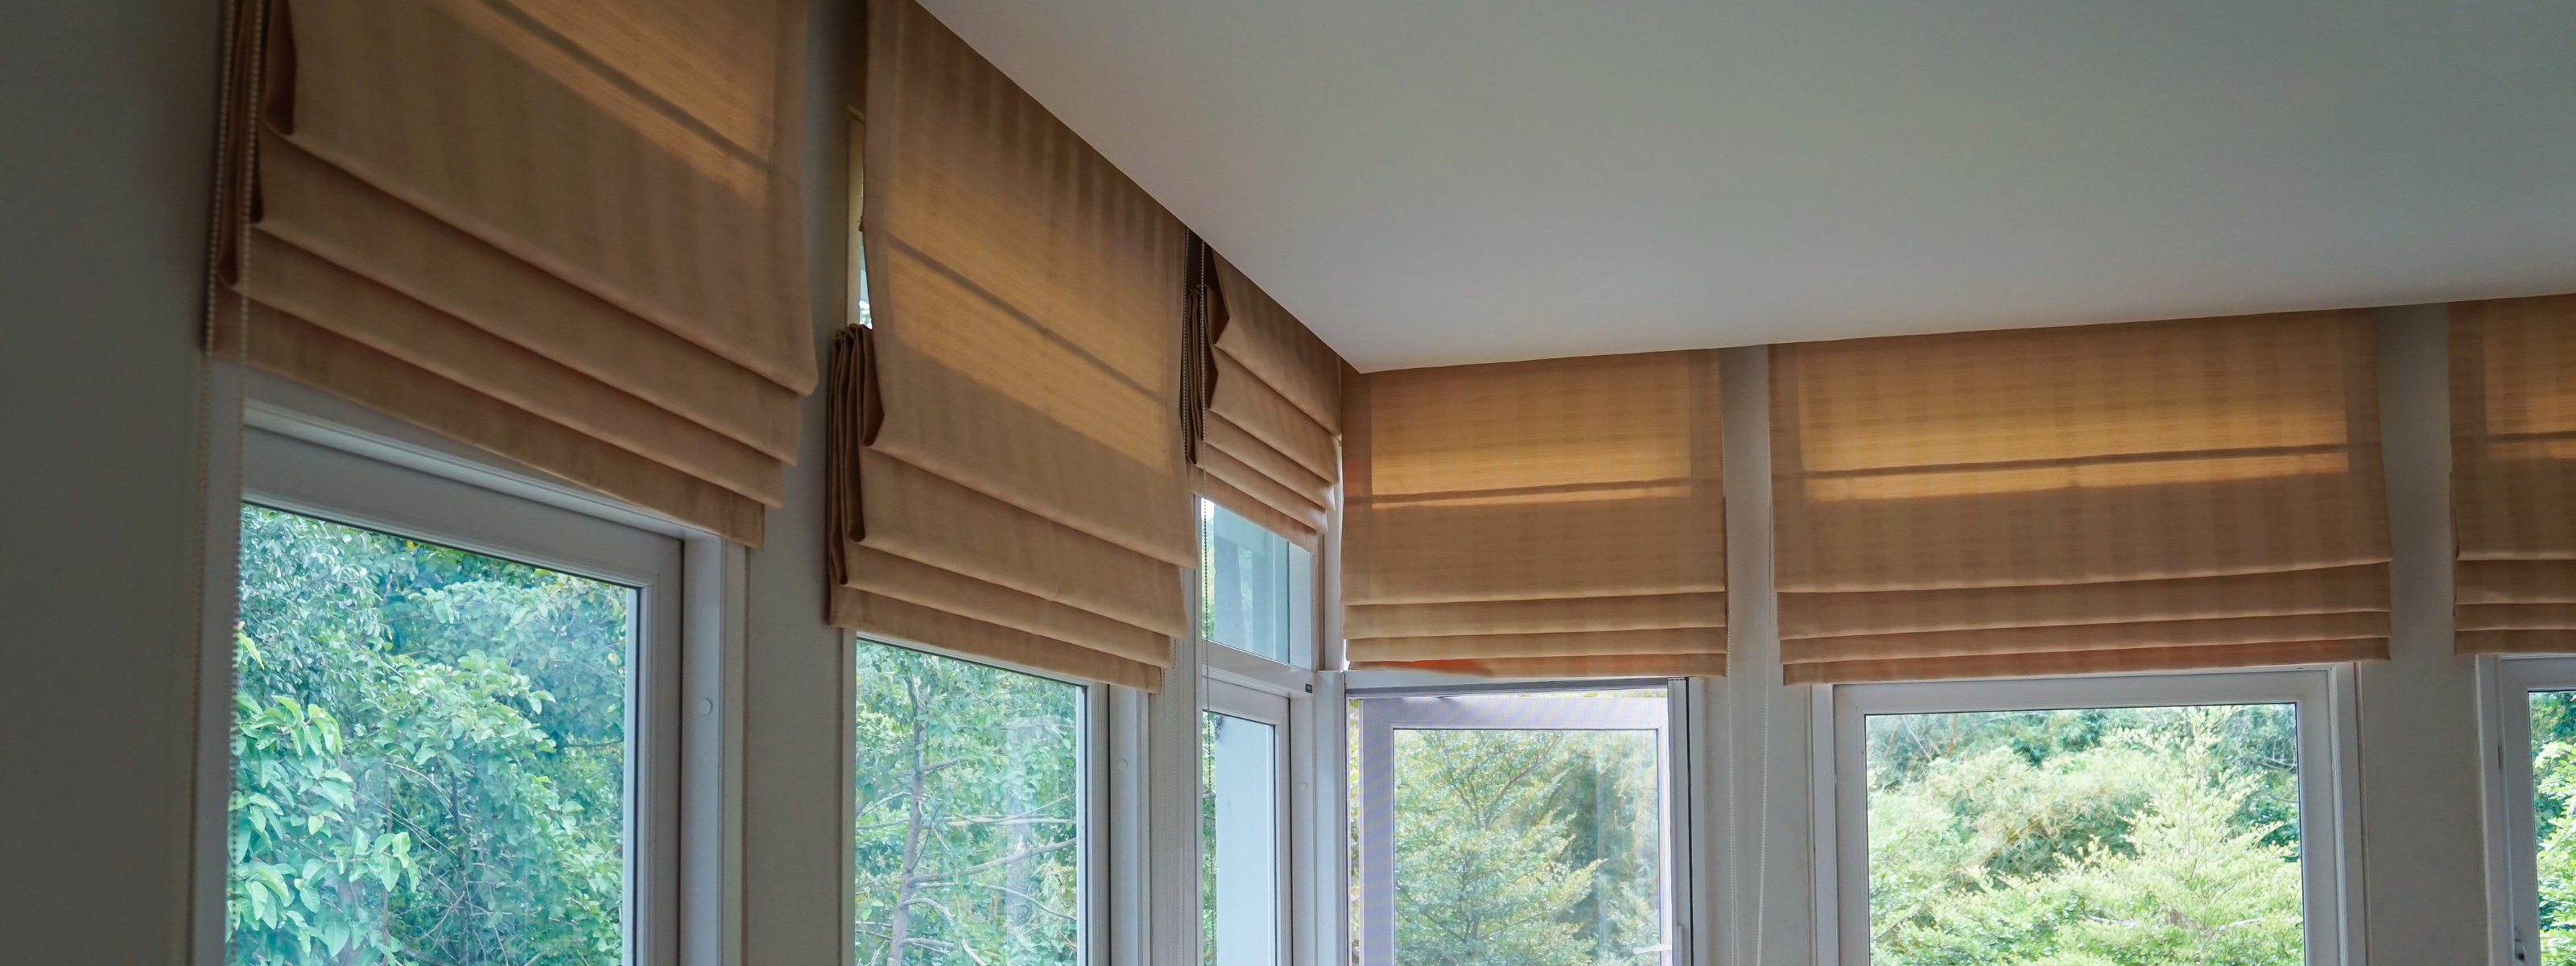
How To Install Blinds & Shades
Installing blinds and shades in your home can be a straightforward DIY project. Begin by selecting your preferred type of window treatment and then decide whether you want an inside or outside mount. Both mounting options come with the necessary brackets. This guide will provide you with detailed instructions on how to properly install blinds and shades on your window frame, ensuring a secure and aesthetically pleasing result.
for example
Here are the installation methods for the four main types of window treatments we offer.
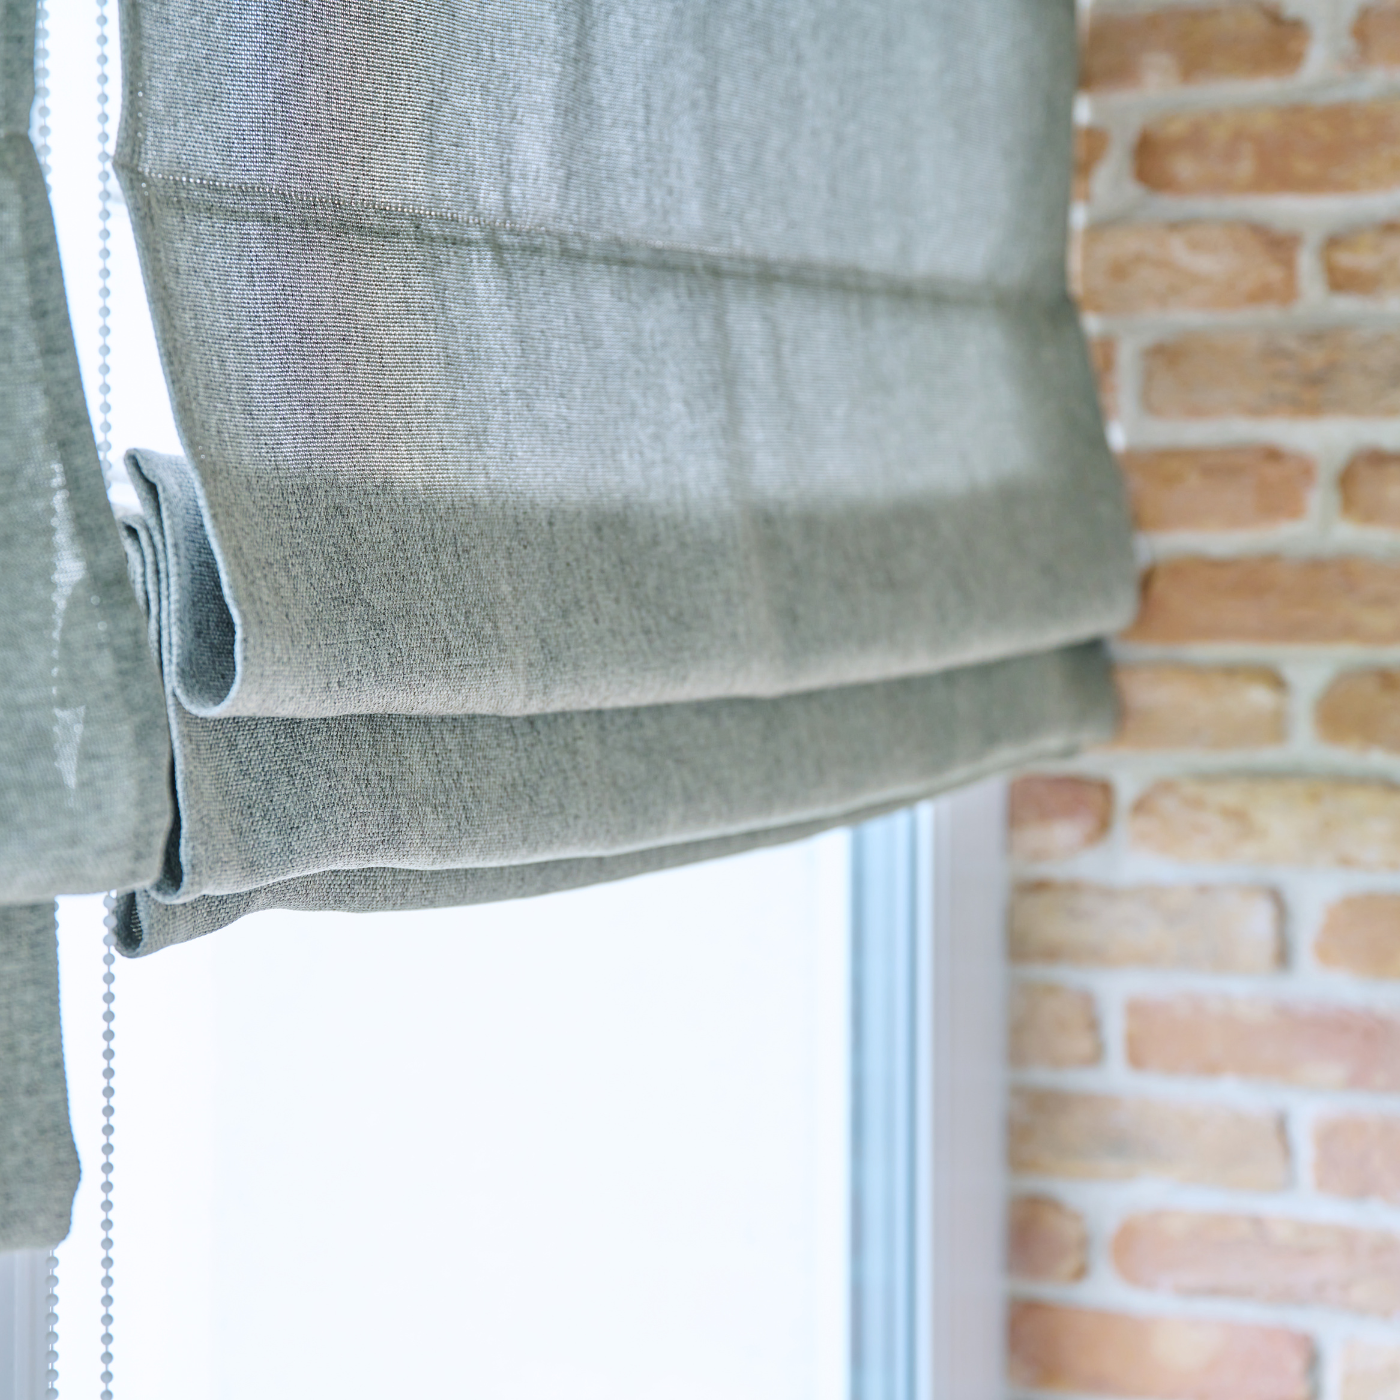
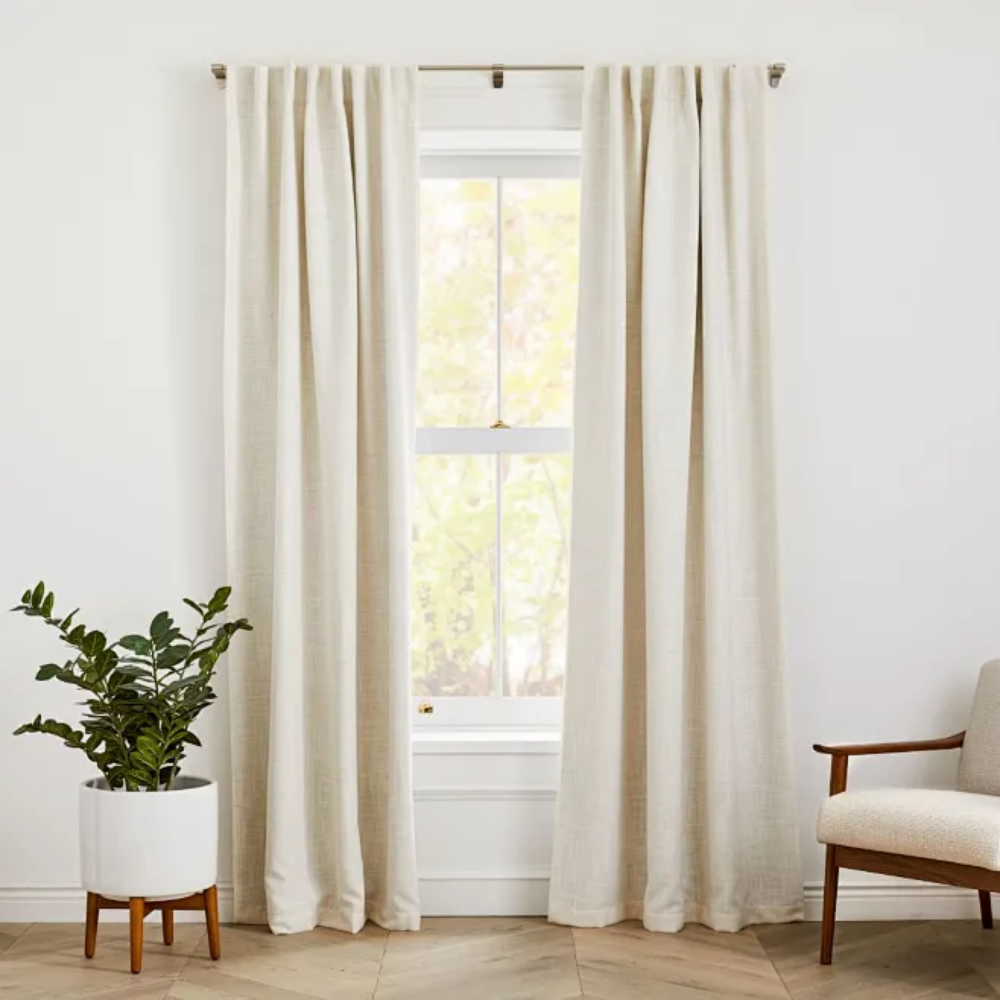
Roman Shades
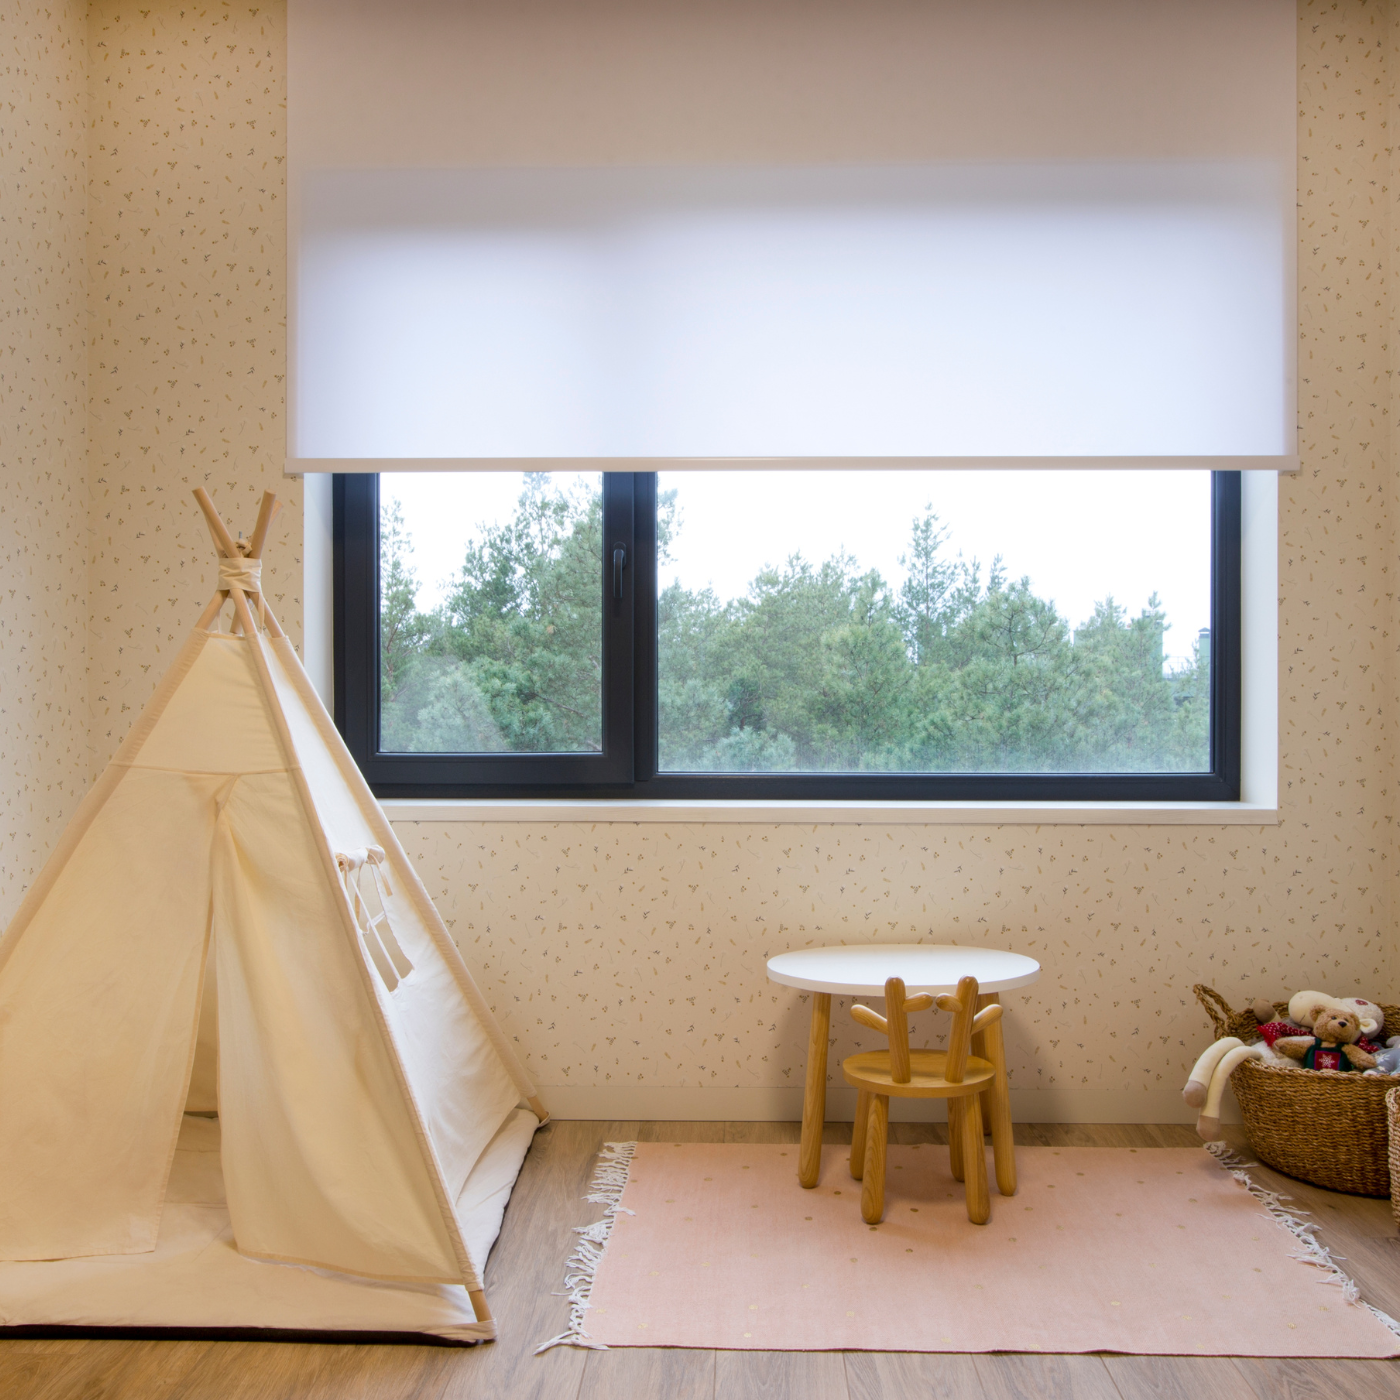
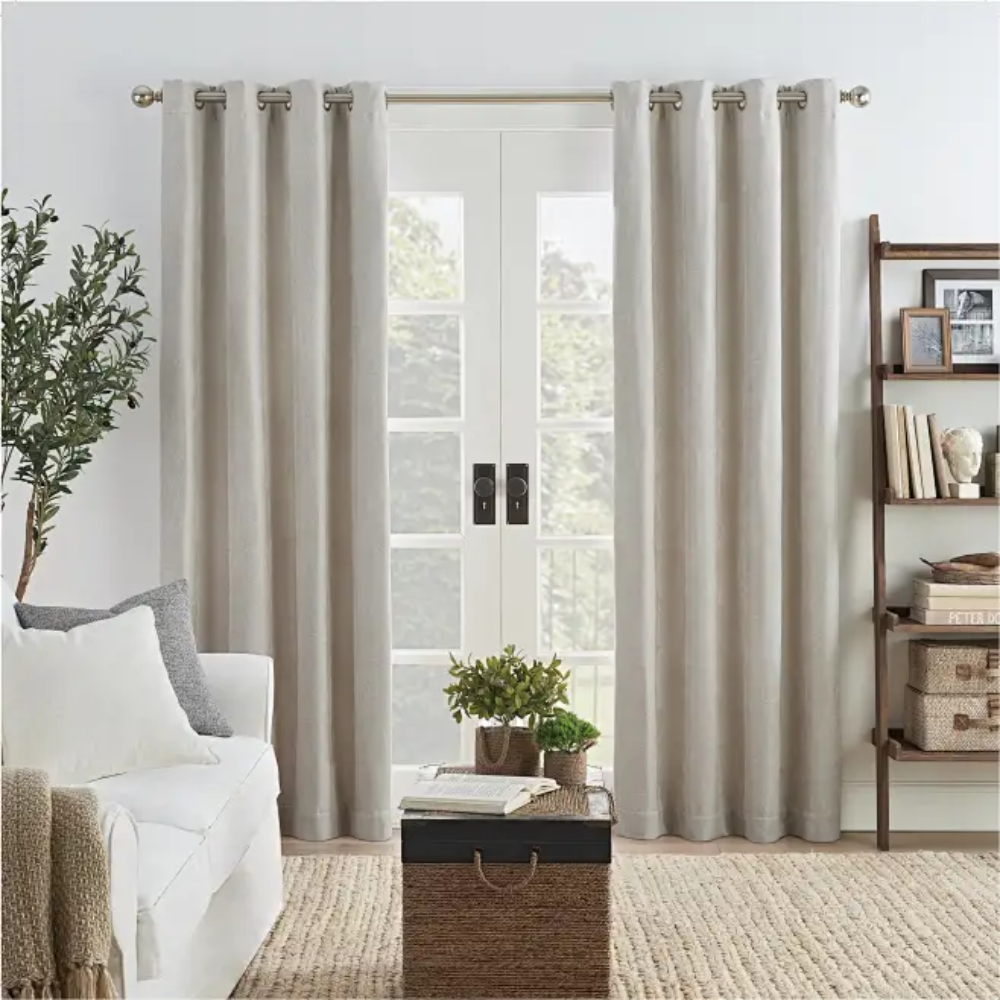
Roller Shades
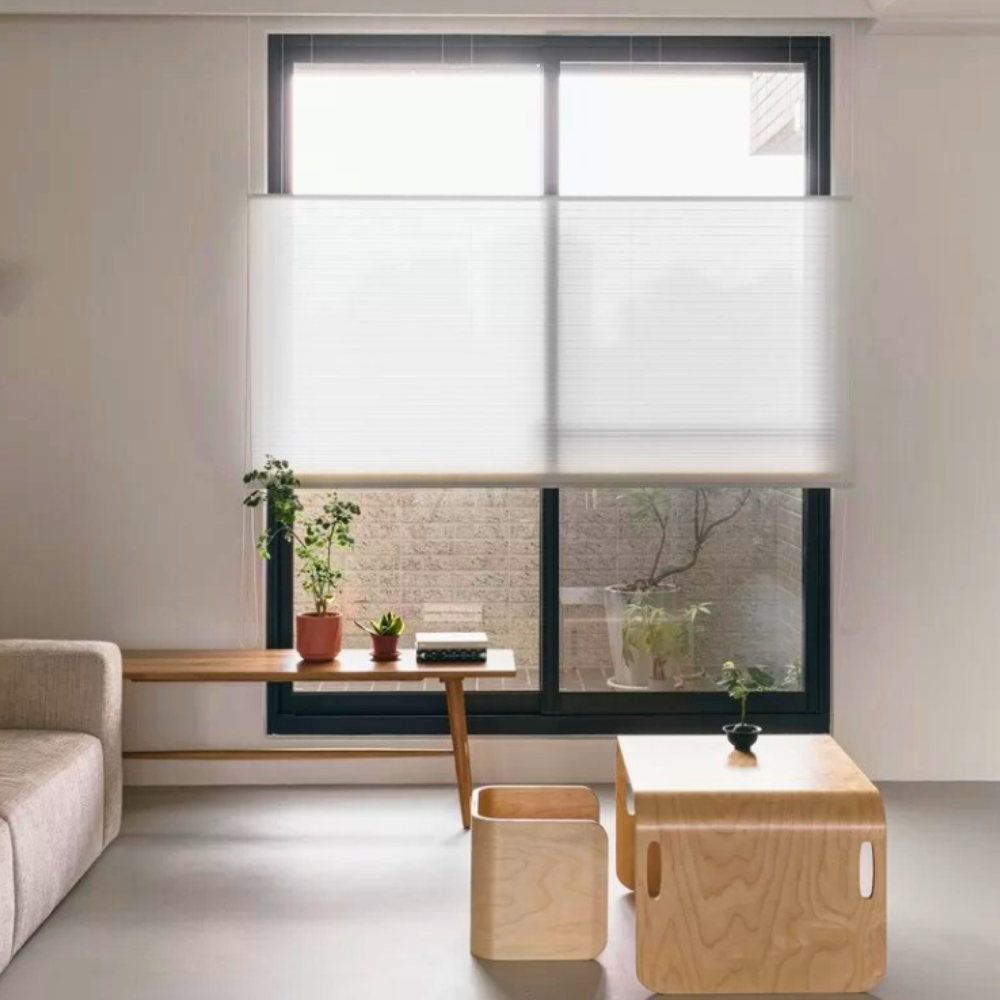
Cellular Shades
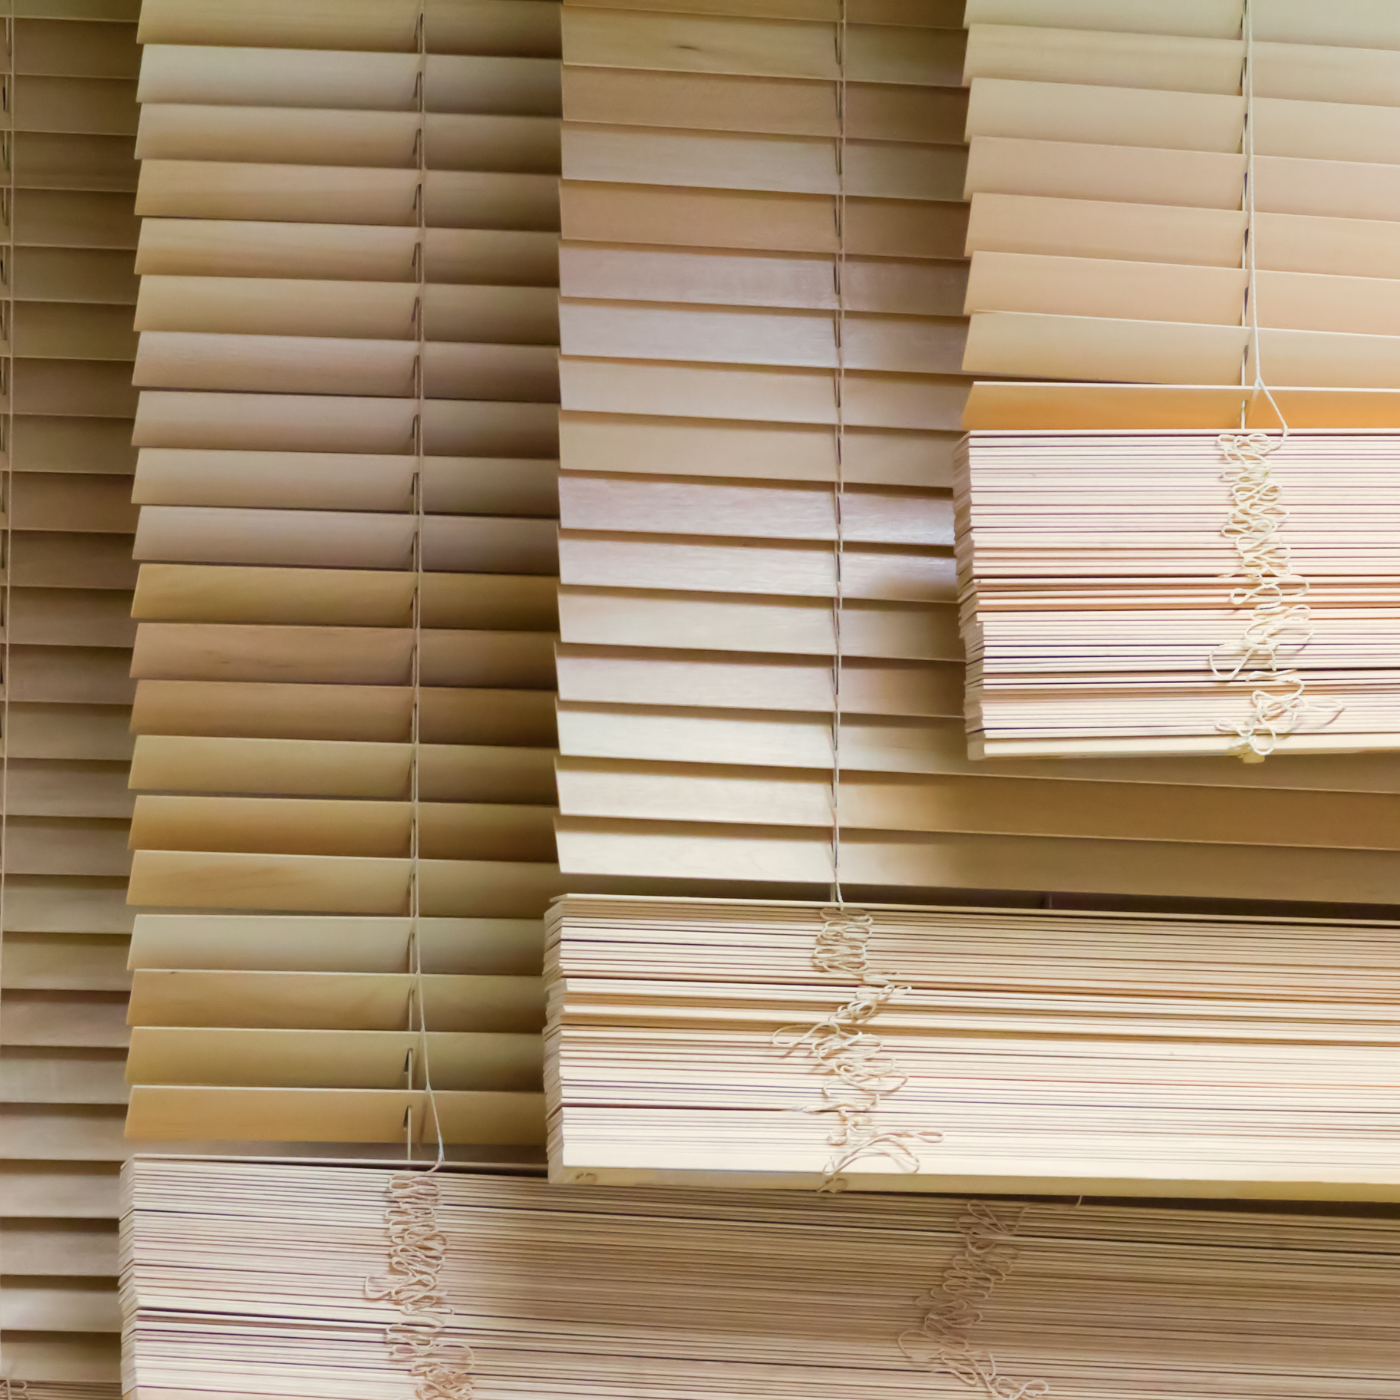
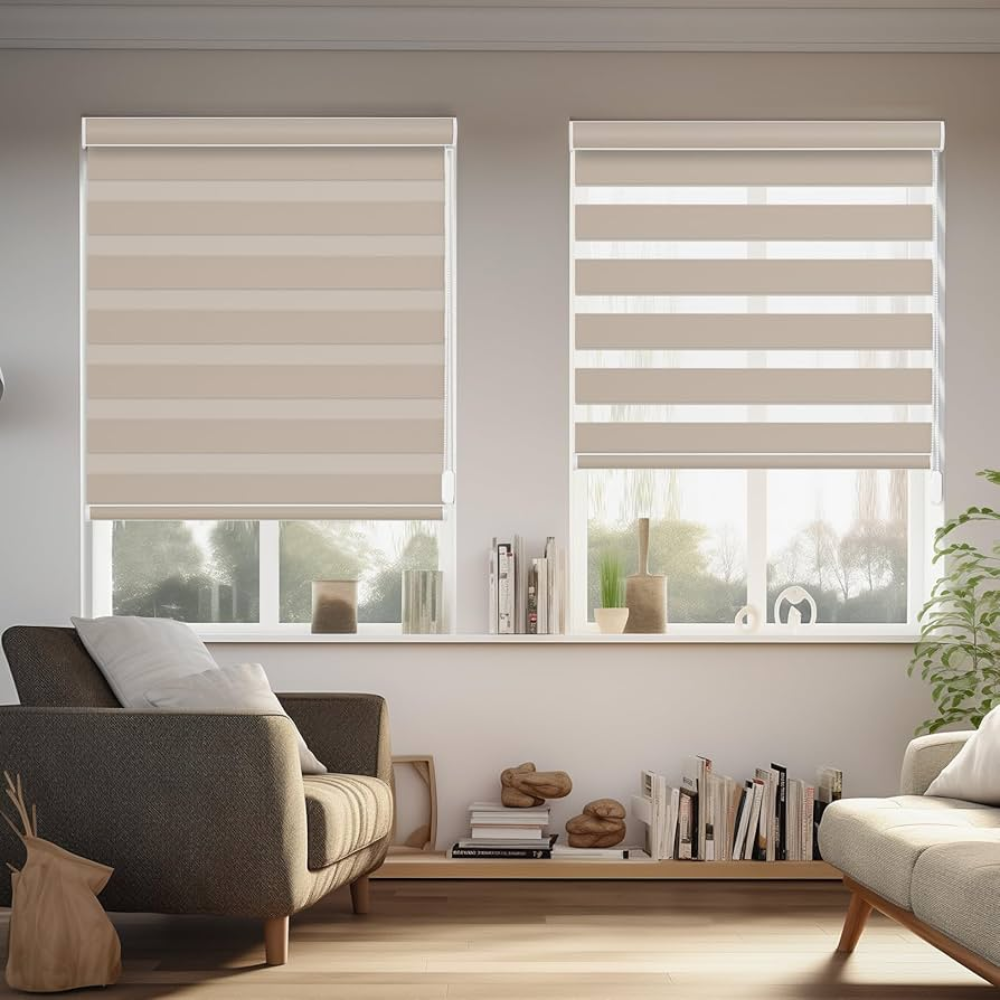
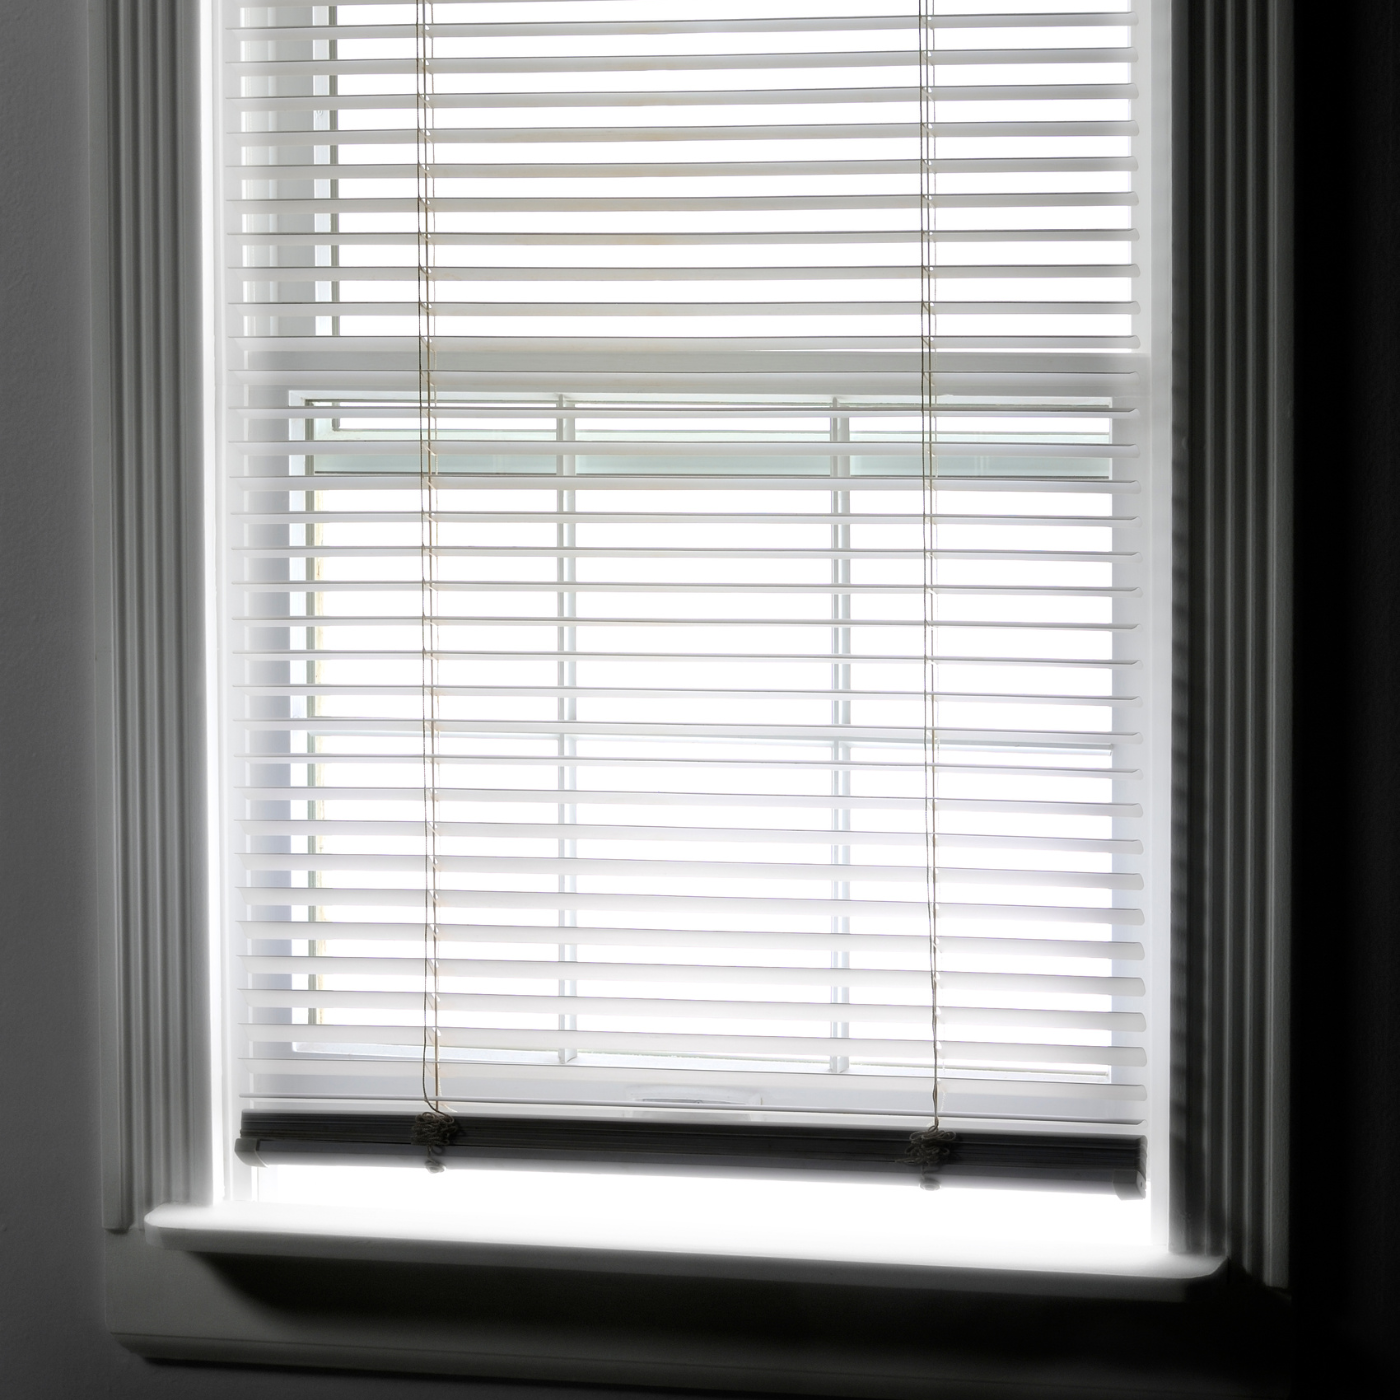
Wood Blinds

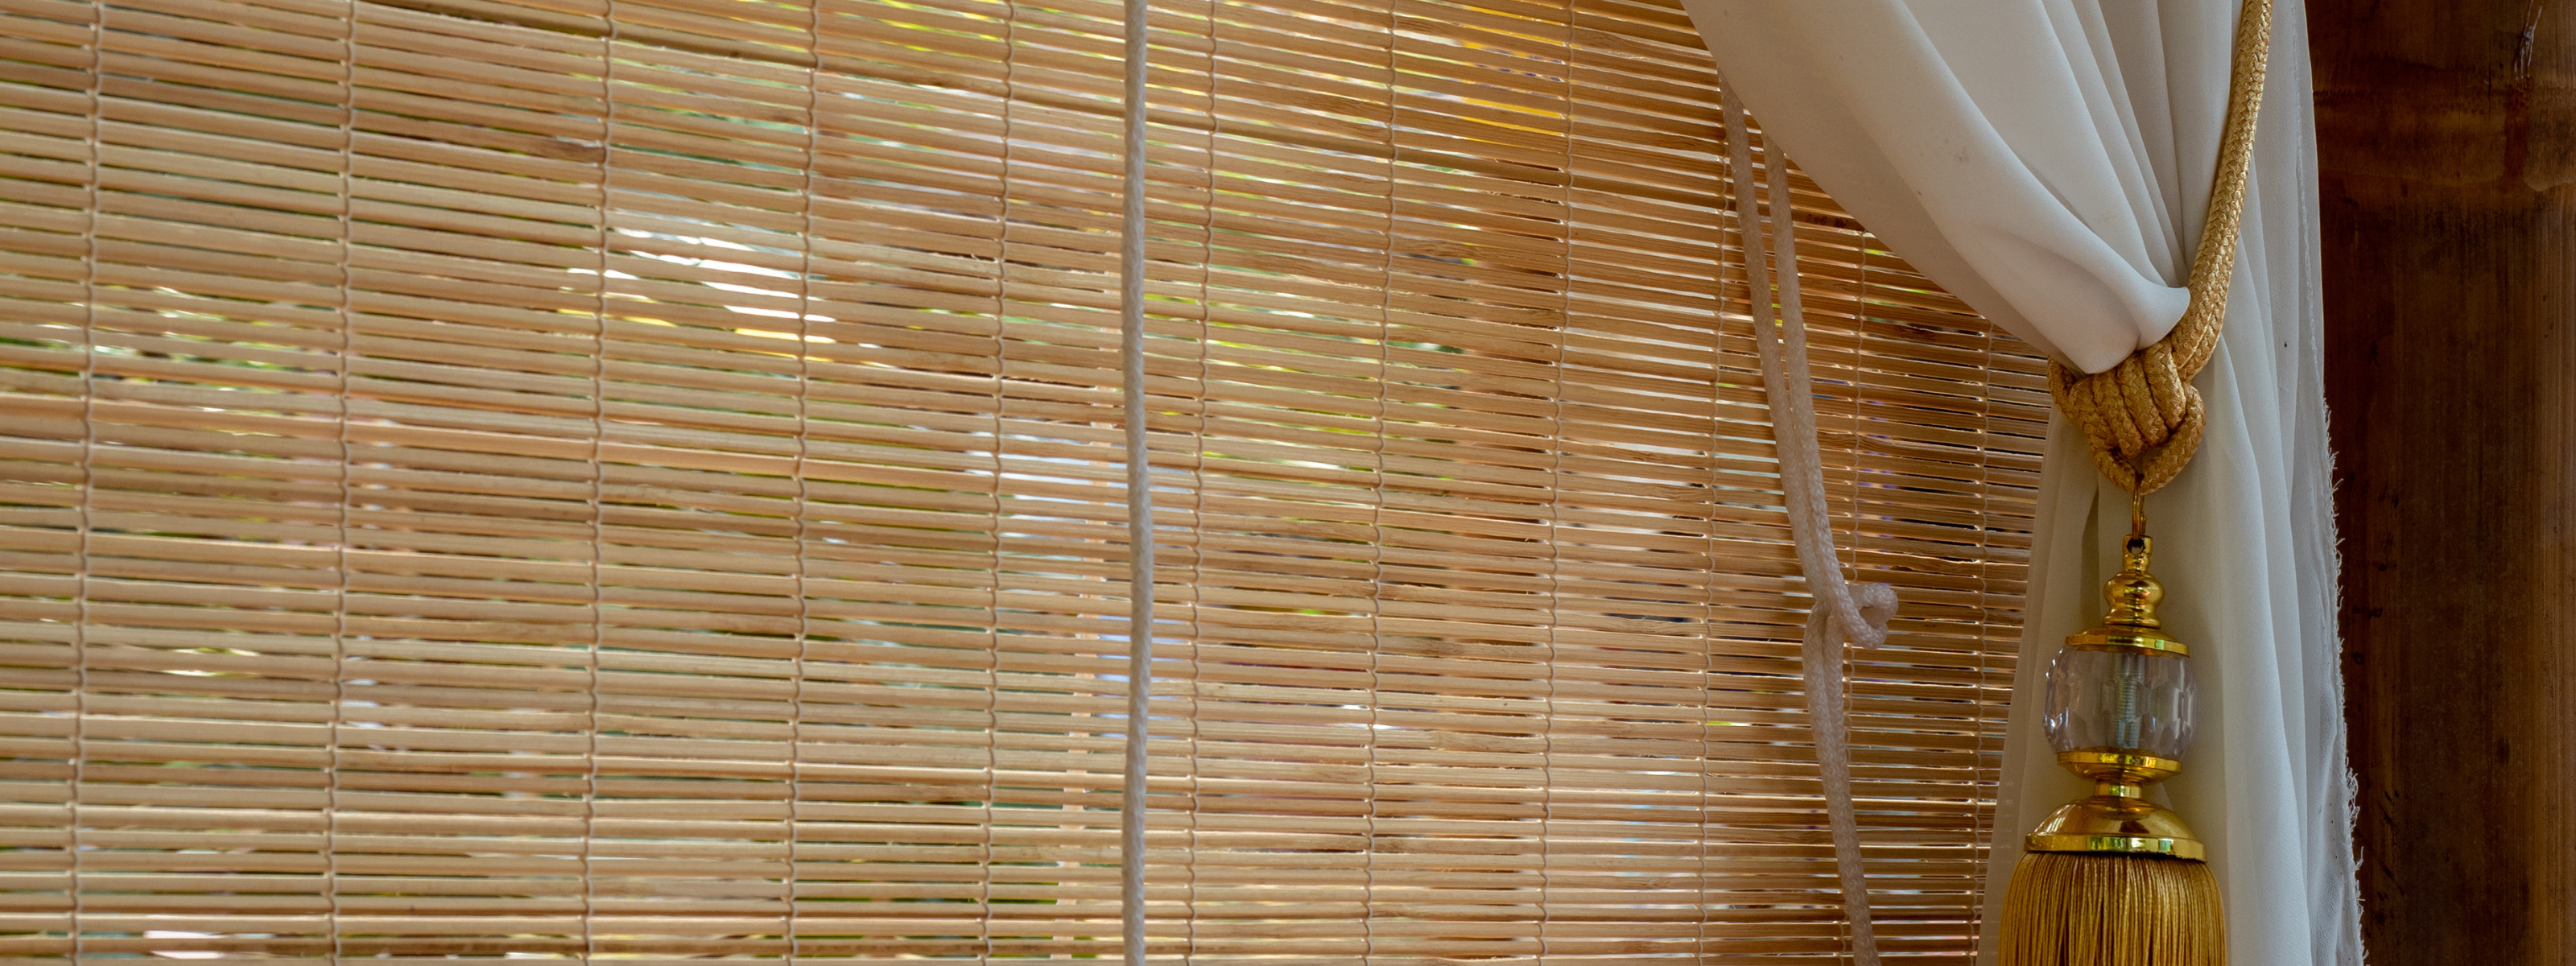
Bamboo Shades
Inside Mount

- Check if the window frame is level before mounting the brackets.Measure the shade's headrail with a tape measure.Mark the bracket locations on the frame with a pencil.Mark the screw locations for each bracket with an "X".
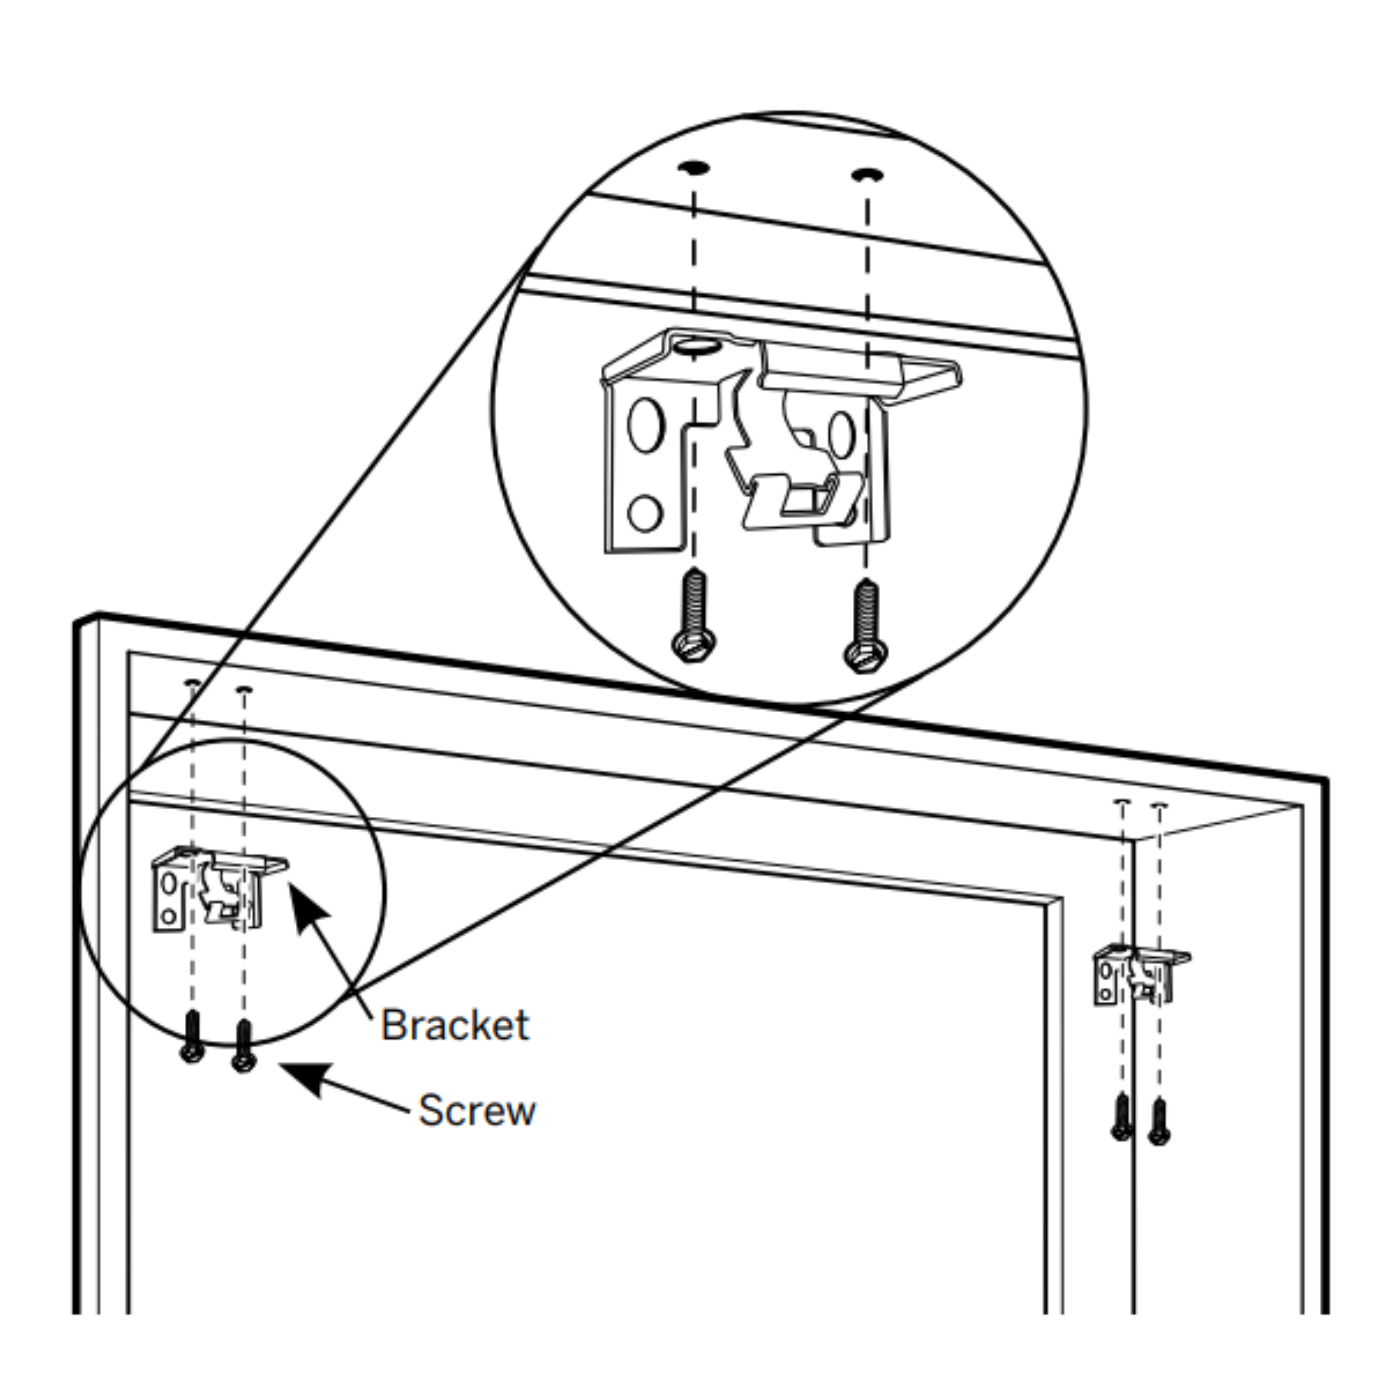
2.Drill pilot holes into the “ceiling” of the window frame.Screw the brackets into the pilot holes with a screwdriver.
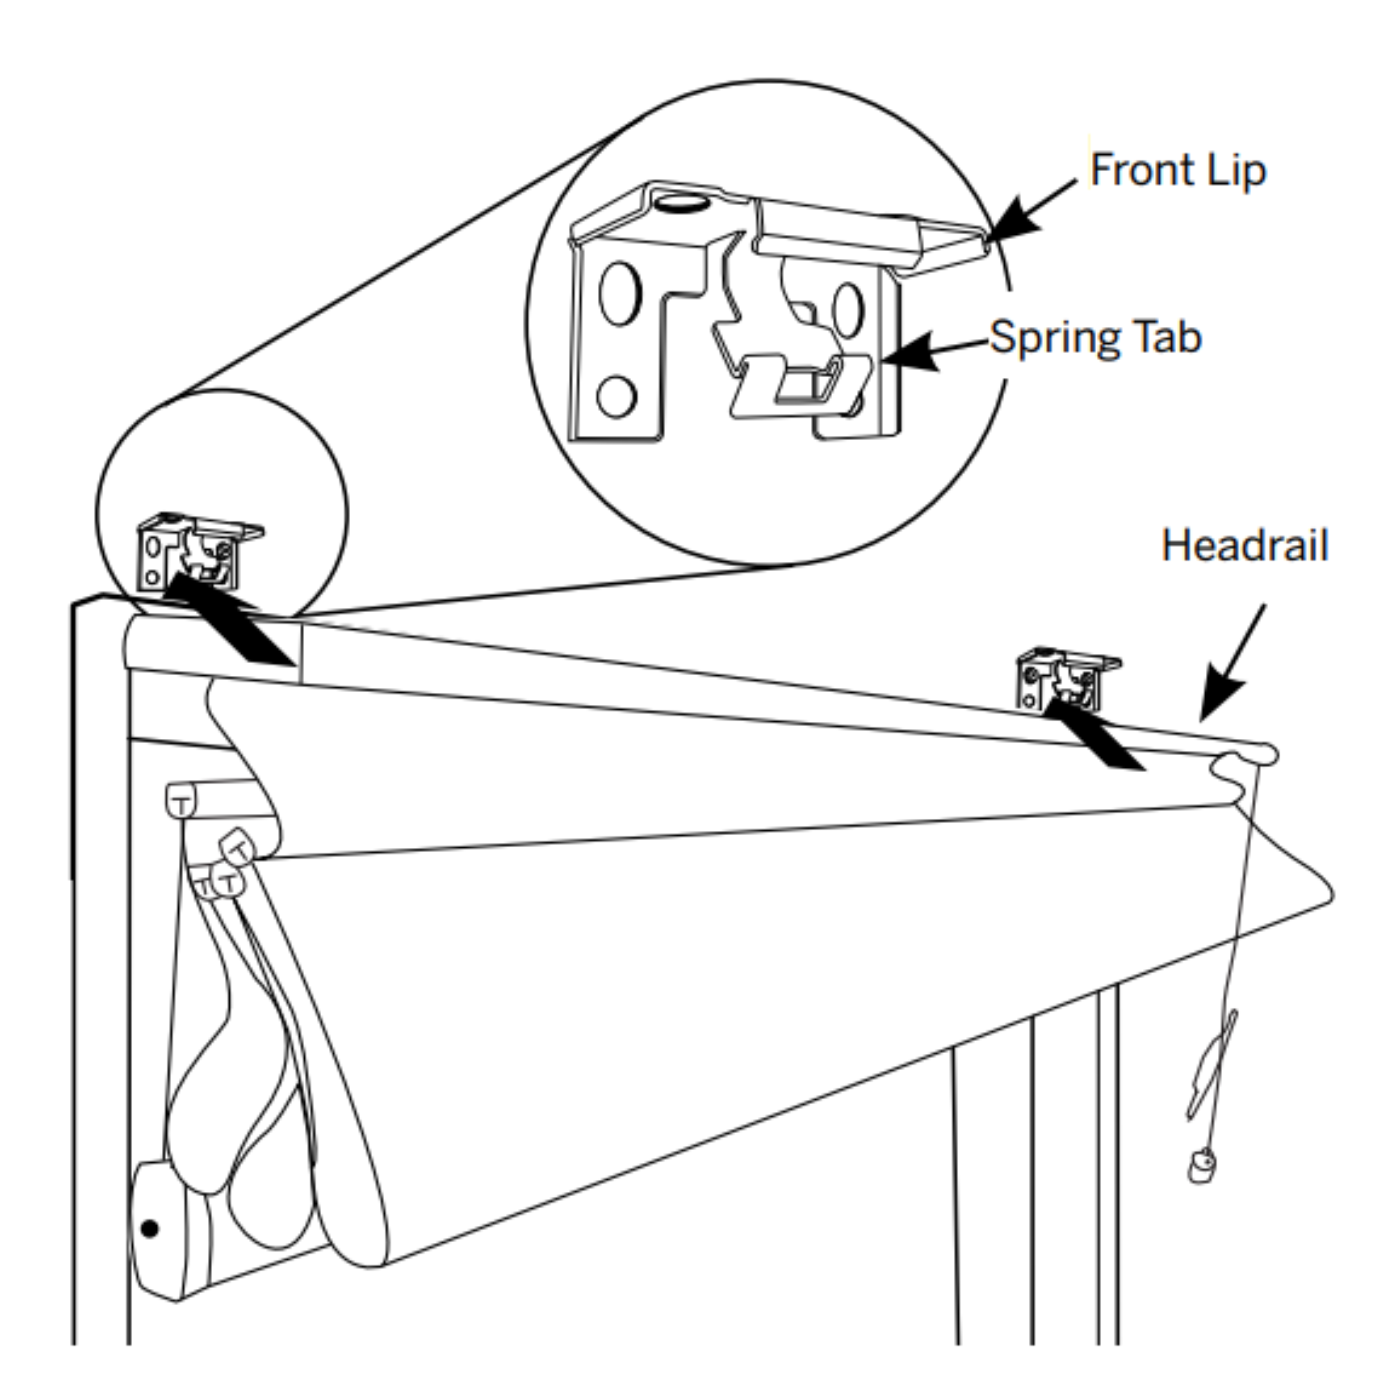
3.Slide the shades into place in the mounted brackets.Drive a head screw into each end bracket to secure the shade.
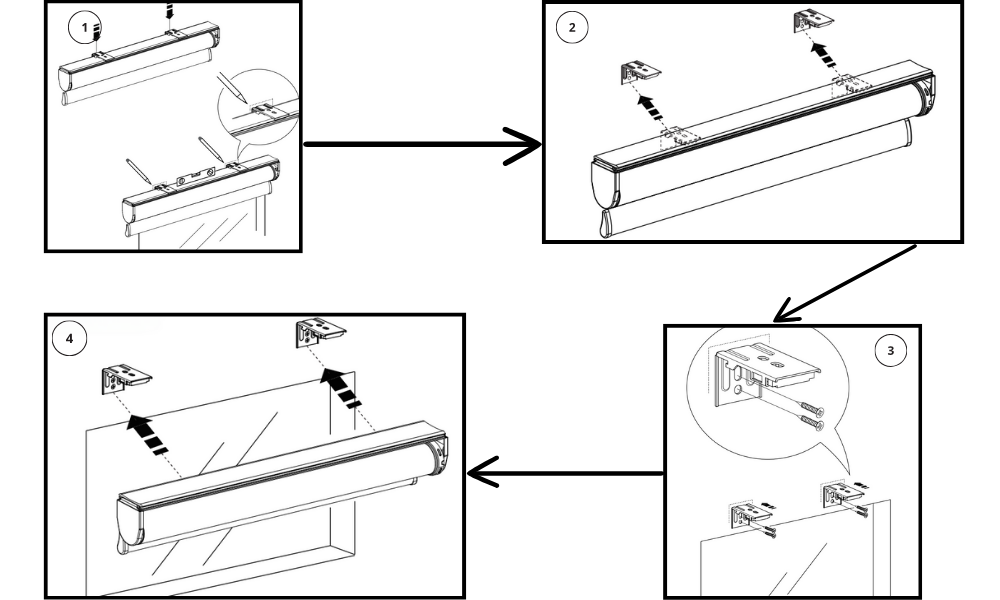
Outside Mount
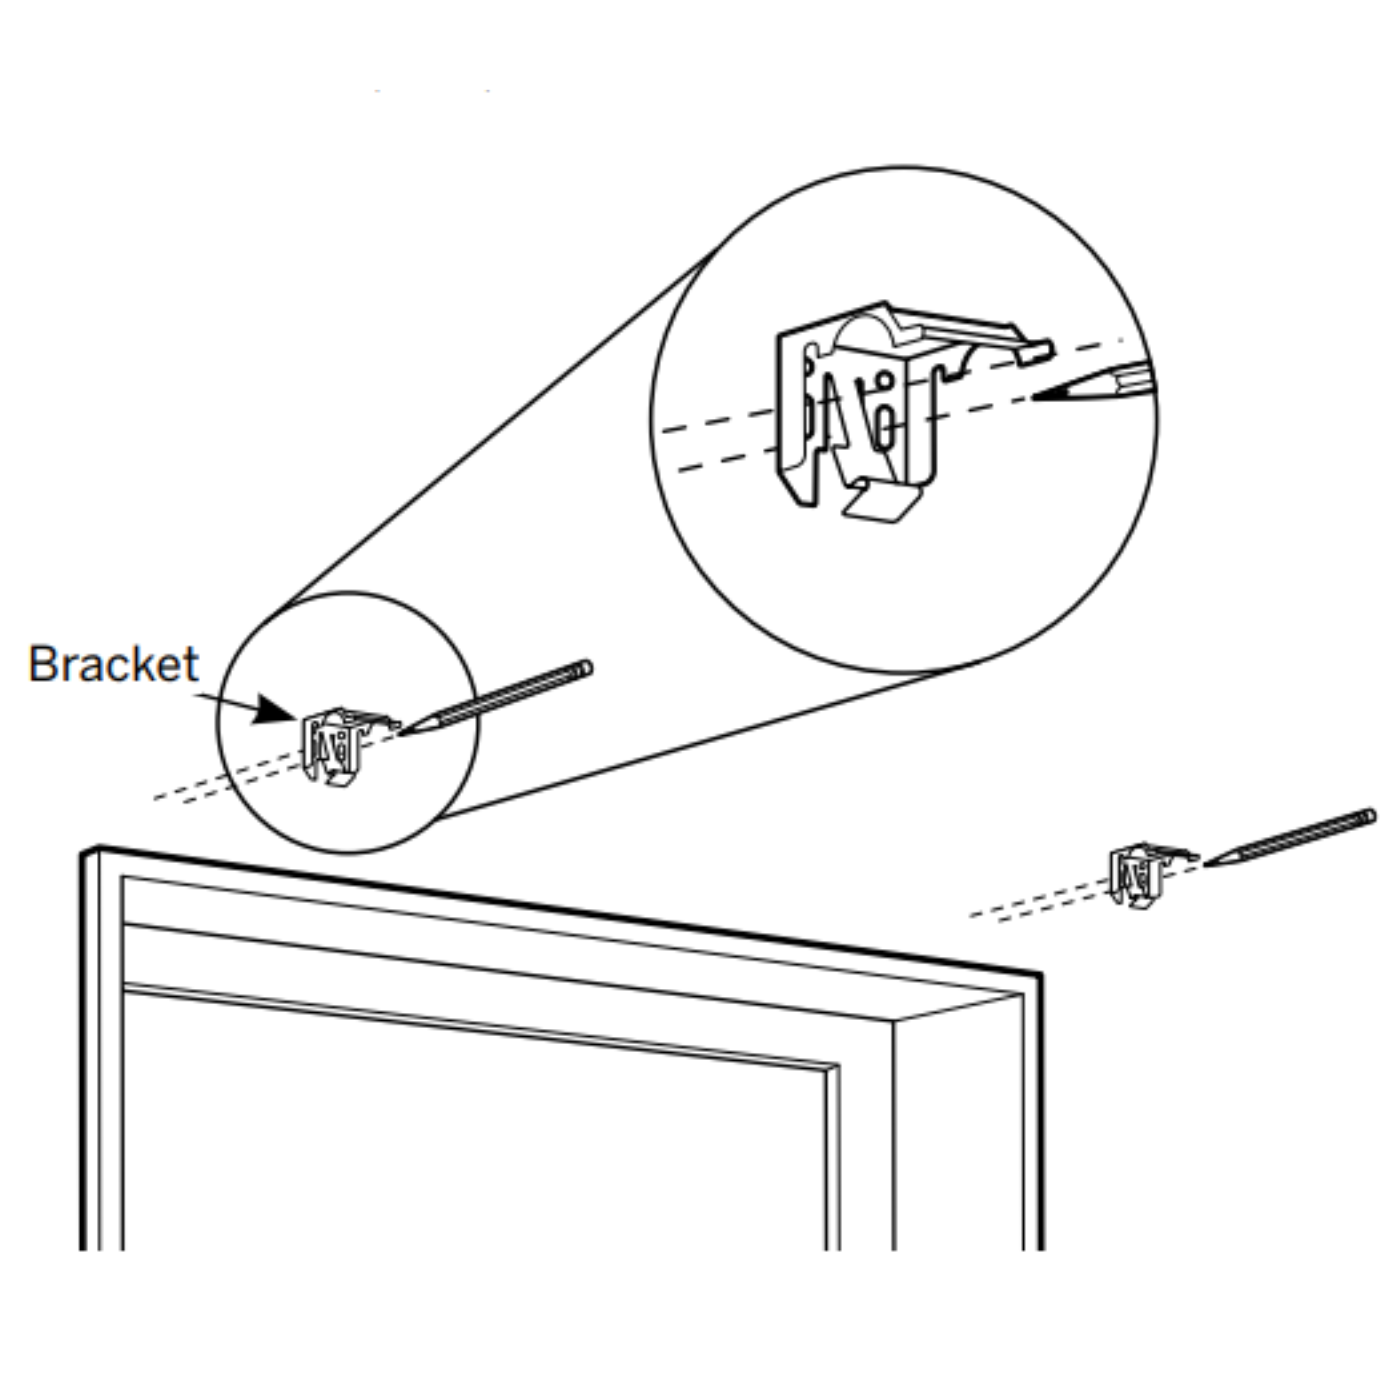
- Sort out and prepare mounting brackets.Align brackets with a level tool and mark their positions.
2.Mark screw locations and drill pilot holes.Screw brackets in place.Slide or snap headrails into the brackets.
3.Test operation of your outside mount Roman shades.Install a valance to conceal hardware and enhance decor.
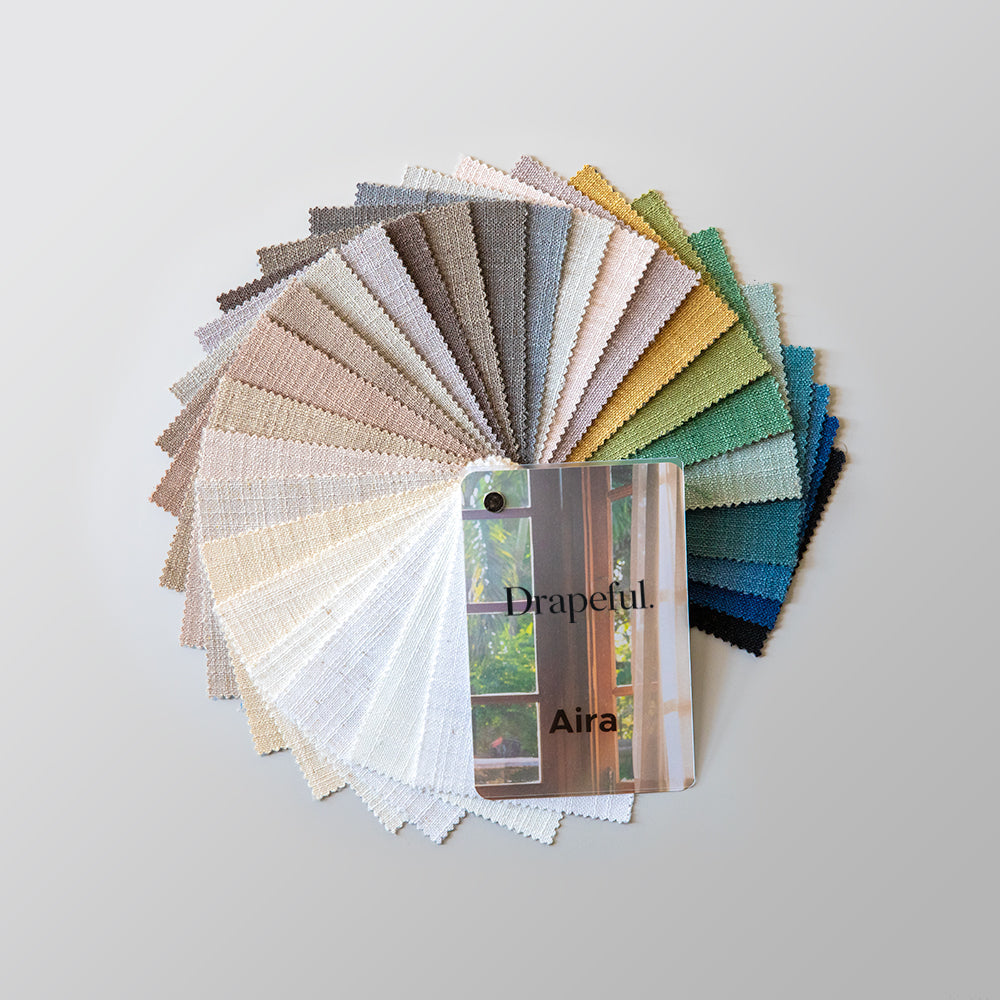
Featured collection
Inside Mount
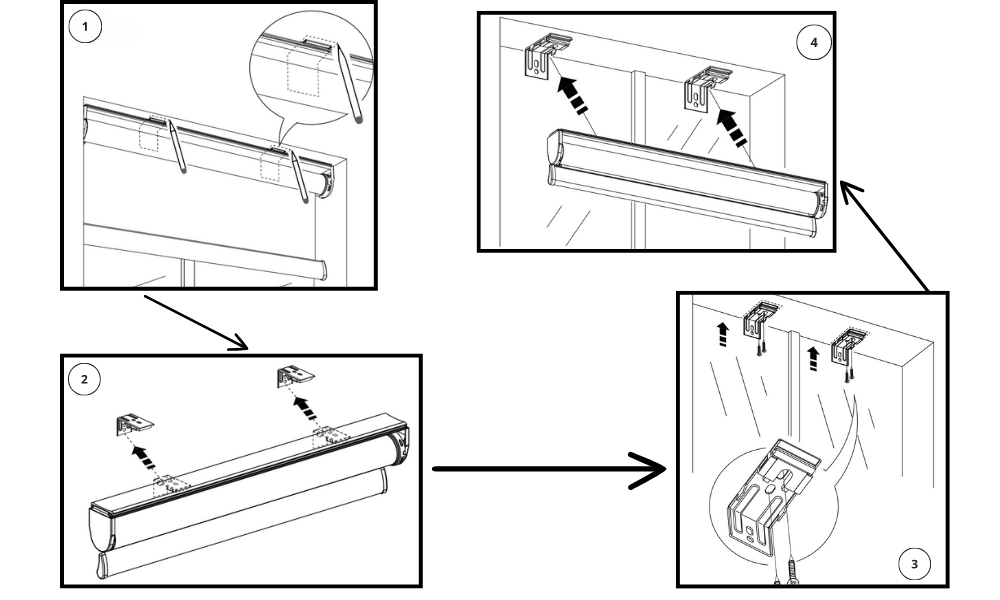
- Sort out and prepare mounting brackets.
- Align brackets with a level tool and mark their positions.
- Mark screw locations and drill pilot holes.
- Screw brackets in place.
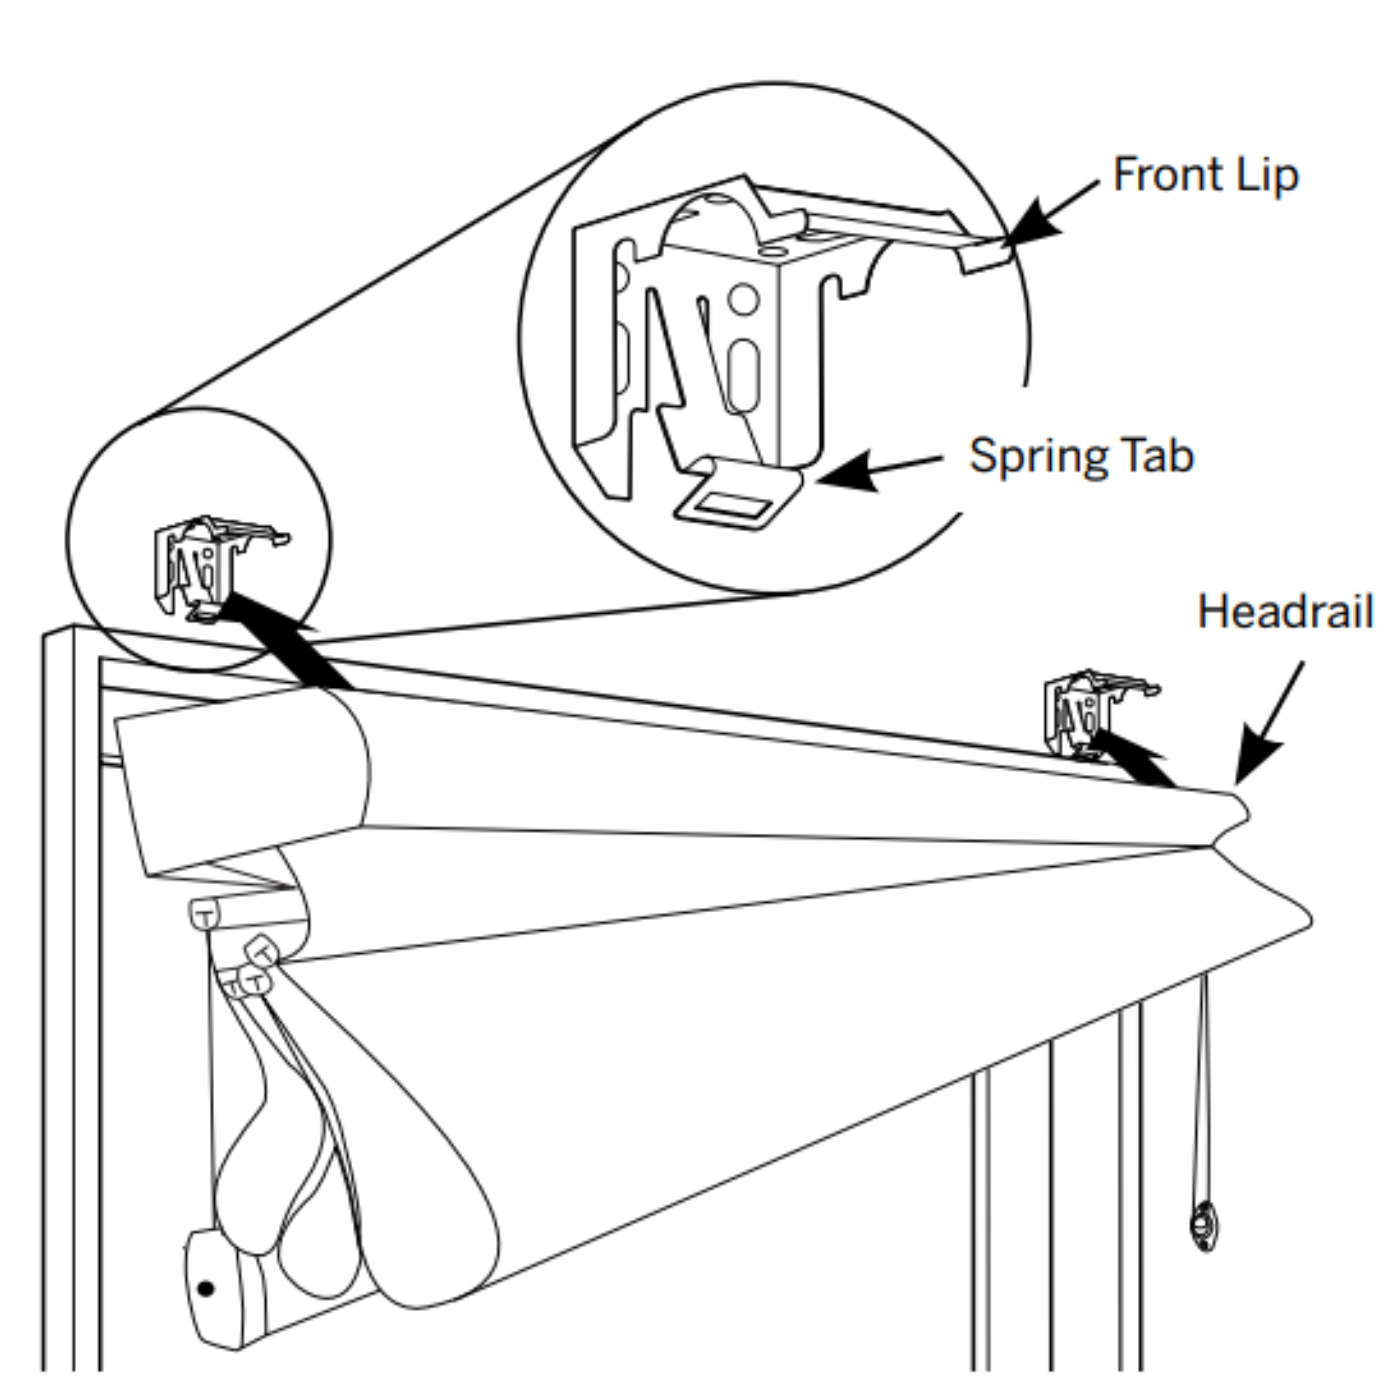
- Slide or snap headrails into the brackets.
- Test operation of inside mount roller shades.
- Install a valance to conceal hardware and enhance decor.
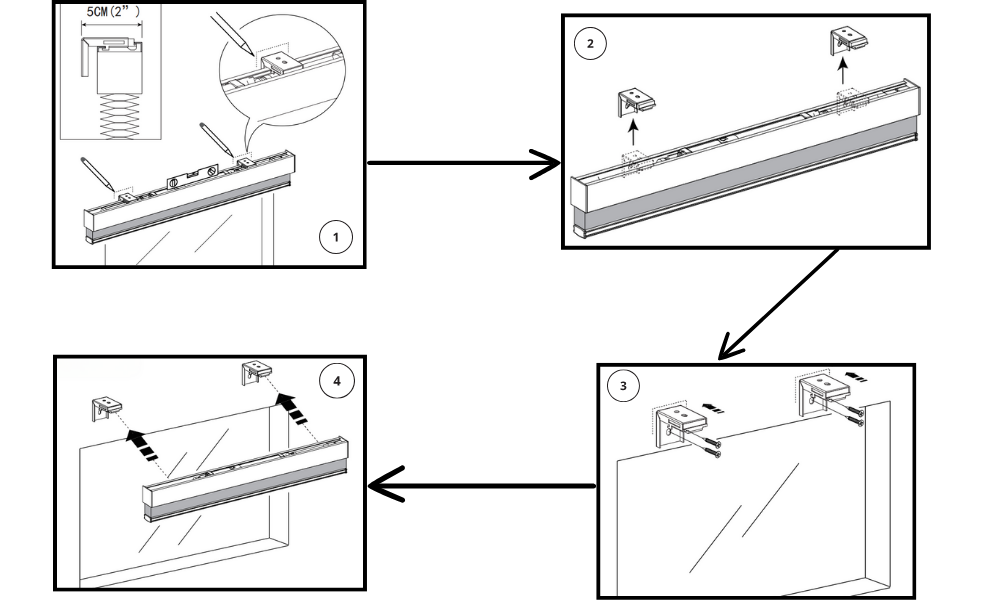
Outside Mount
- Organize and prepare the mounting brackets, such as end box brackets and center support brackets.
- Align the brackets with a level tool and mark their positions with a pencil.
- Mark the screw locations and drill pilot holes.
- Secure the brackets in place using a screwdriver.
- Slide or snap the headrail into the brackets.
- Test the operation of the inside mount roller shades to ensure everything works perfectly.
- Install the valance to conceal the installation hardware and enhance the decorative appeal.
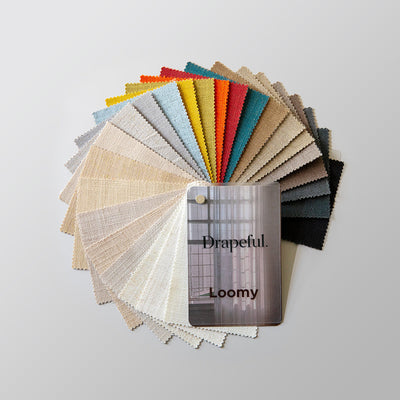
Featured collection
Inside Mount
- Organize and prepare the mounting brackets before installation.
- Align the brackets with a level tool and mark their positions with a pencil.
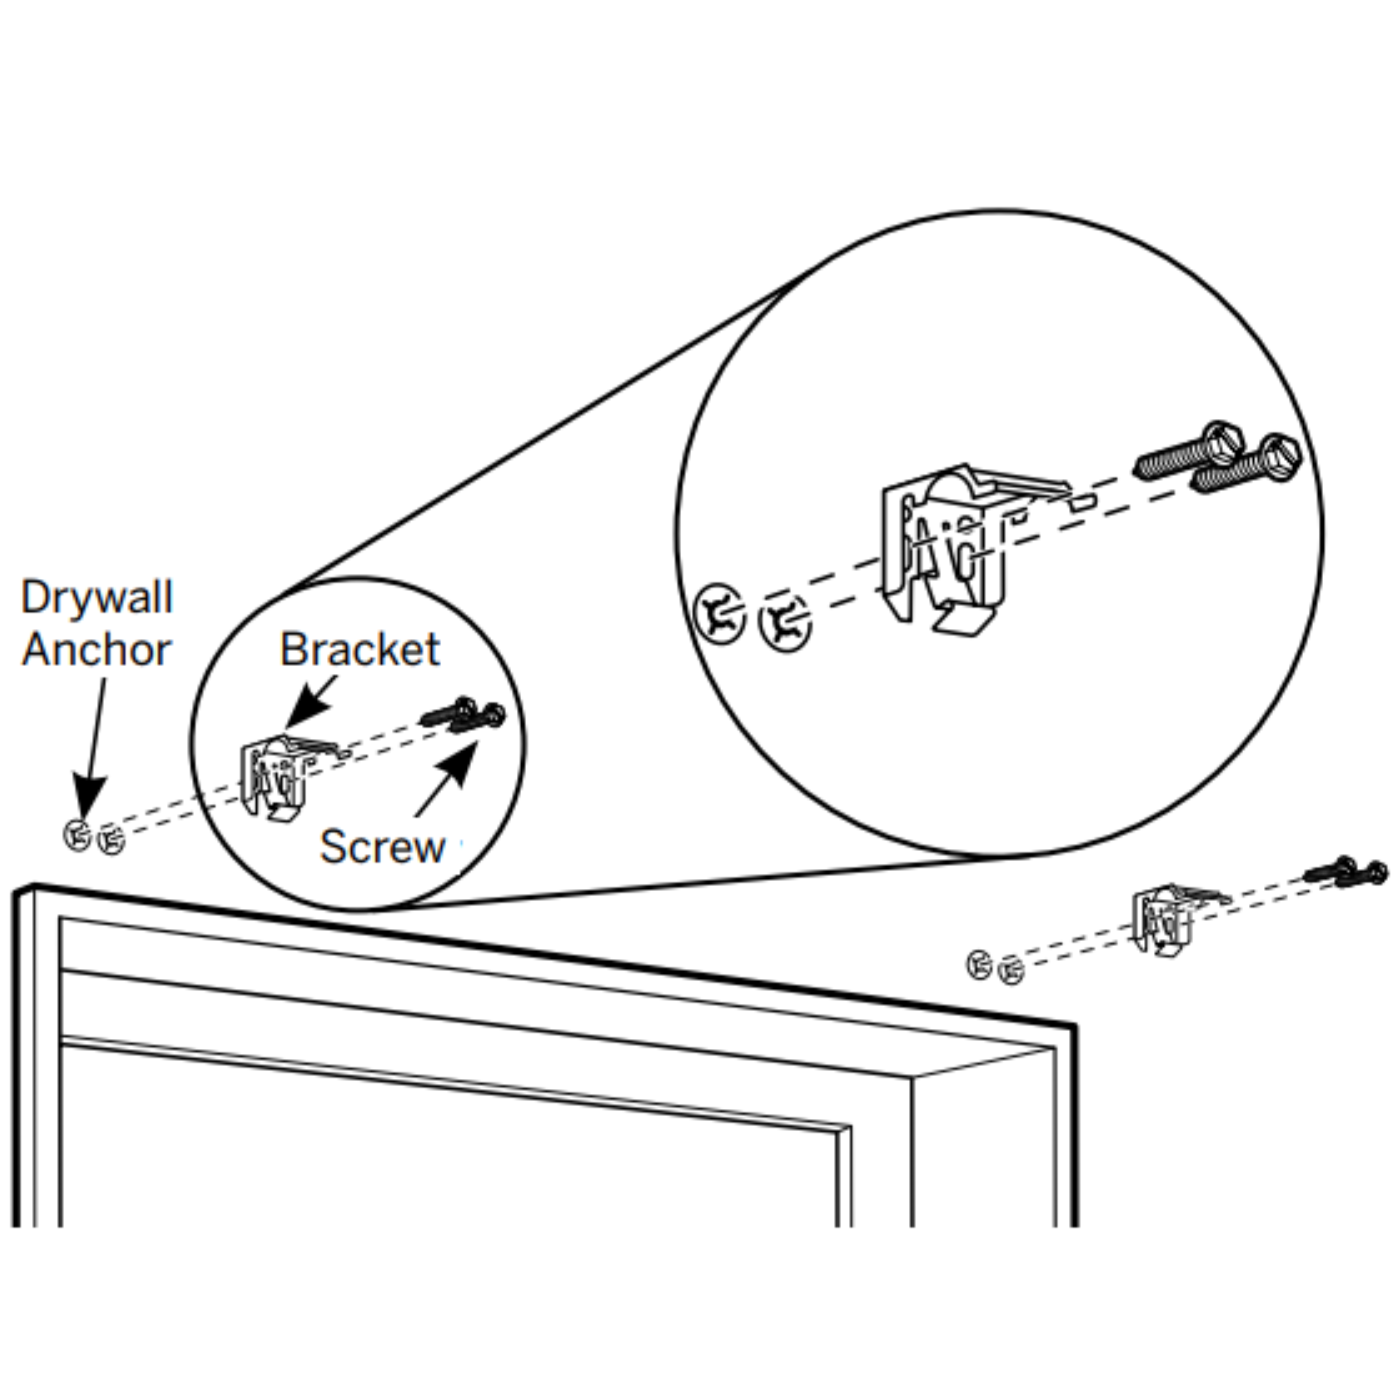
- Mark screw locations, drill pilot holes, and use drywall anchors if needed.
- Secure the brackets with a screwdriver using the appropriate holes.
- Slide or snap the headrail into the brackets and secure it.
- Test the cellular shades to ensure proper operation.
- Install the valance by attaching clips and snapping them together.
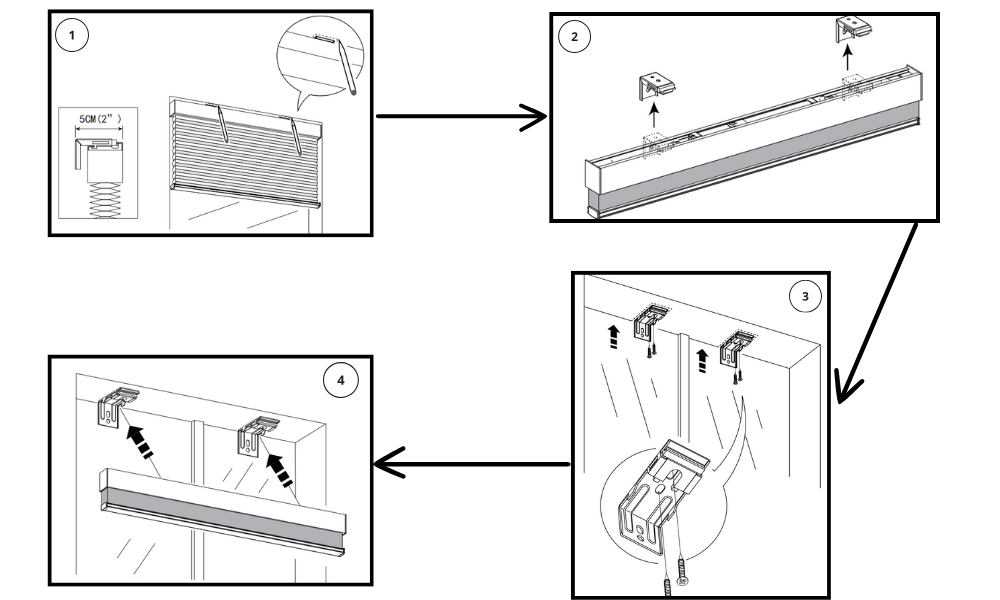
Outside Mount
- Sort and prepare end box and center support brackets.Use a level to align brackets at each end of the headrail and mark positions.
- Mark screw locations, drill pilot holes, and use drywall anchors if needed.
- Screw brackets into place.
- Slide or snap the headrail into the brackets and secure it. Raise, lower, and adjust the shades to ensure proper operation. Attach and evenly space the valance clips, then snap the valance into place.
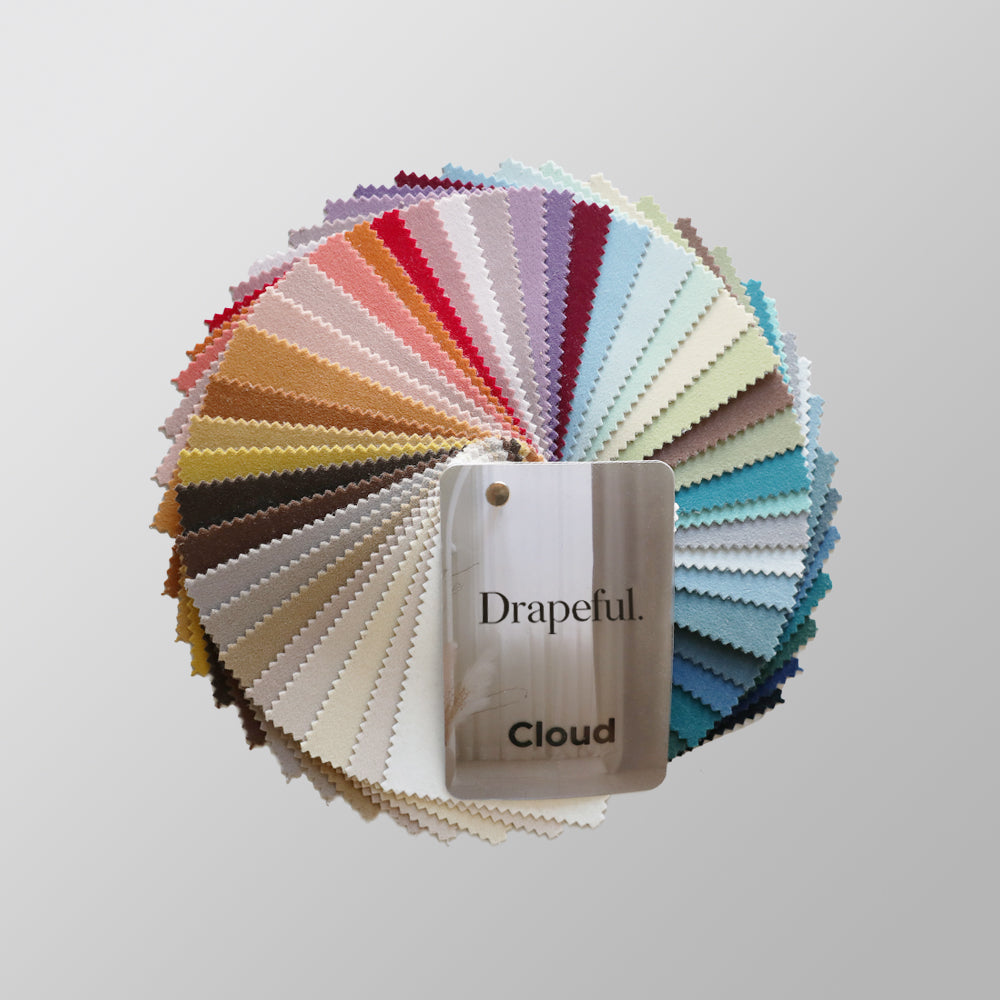
Featured collection
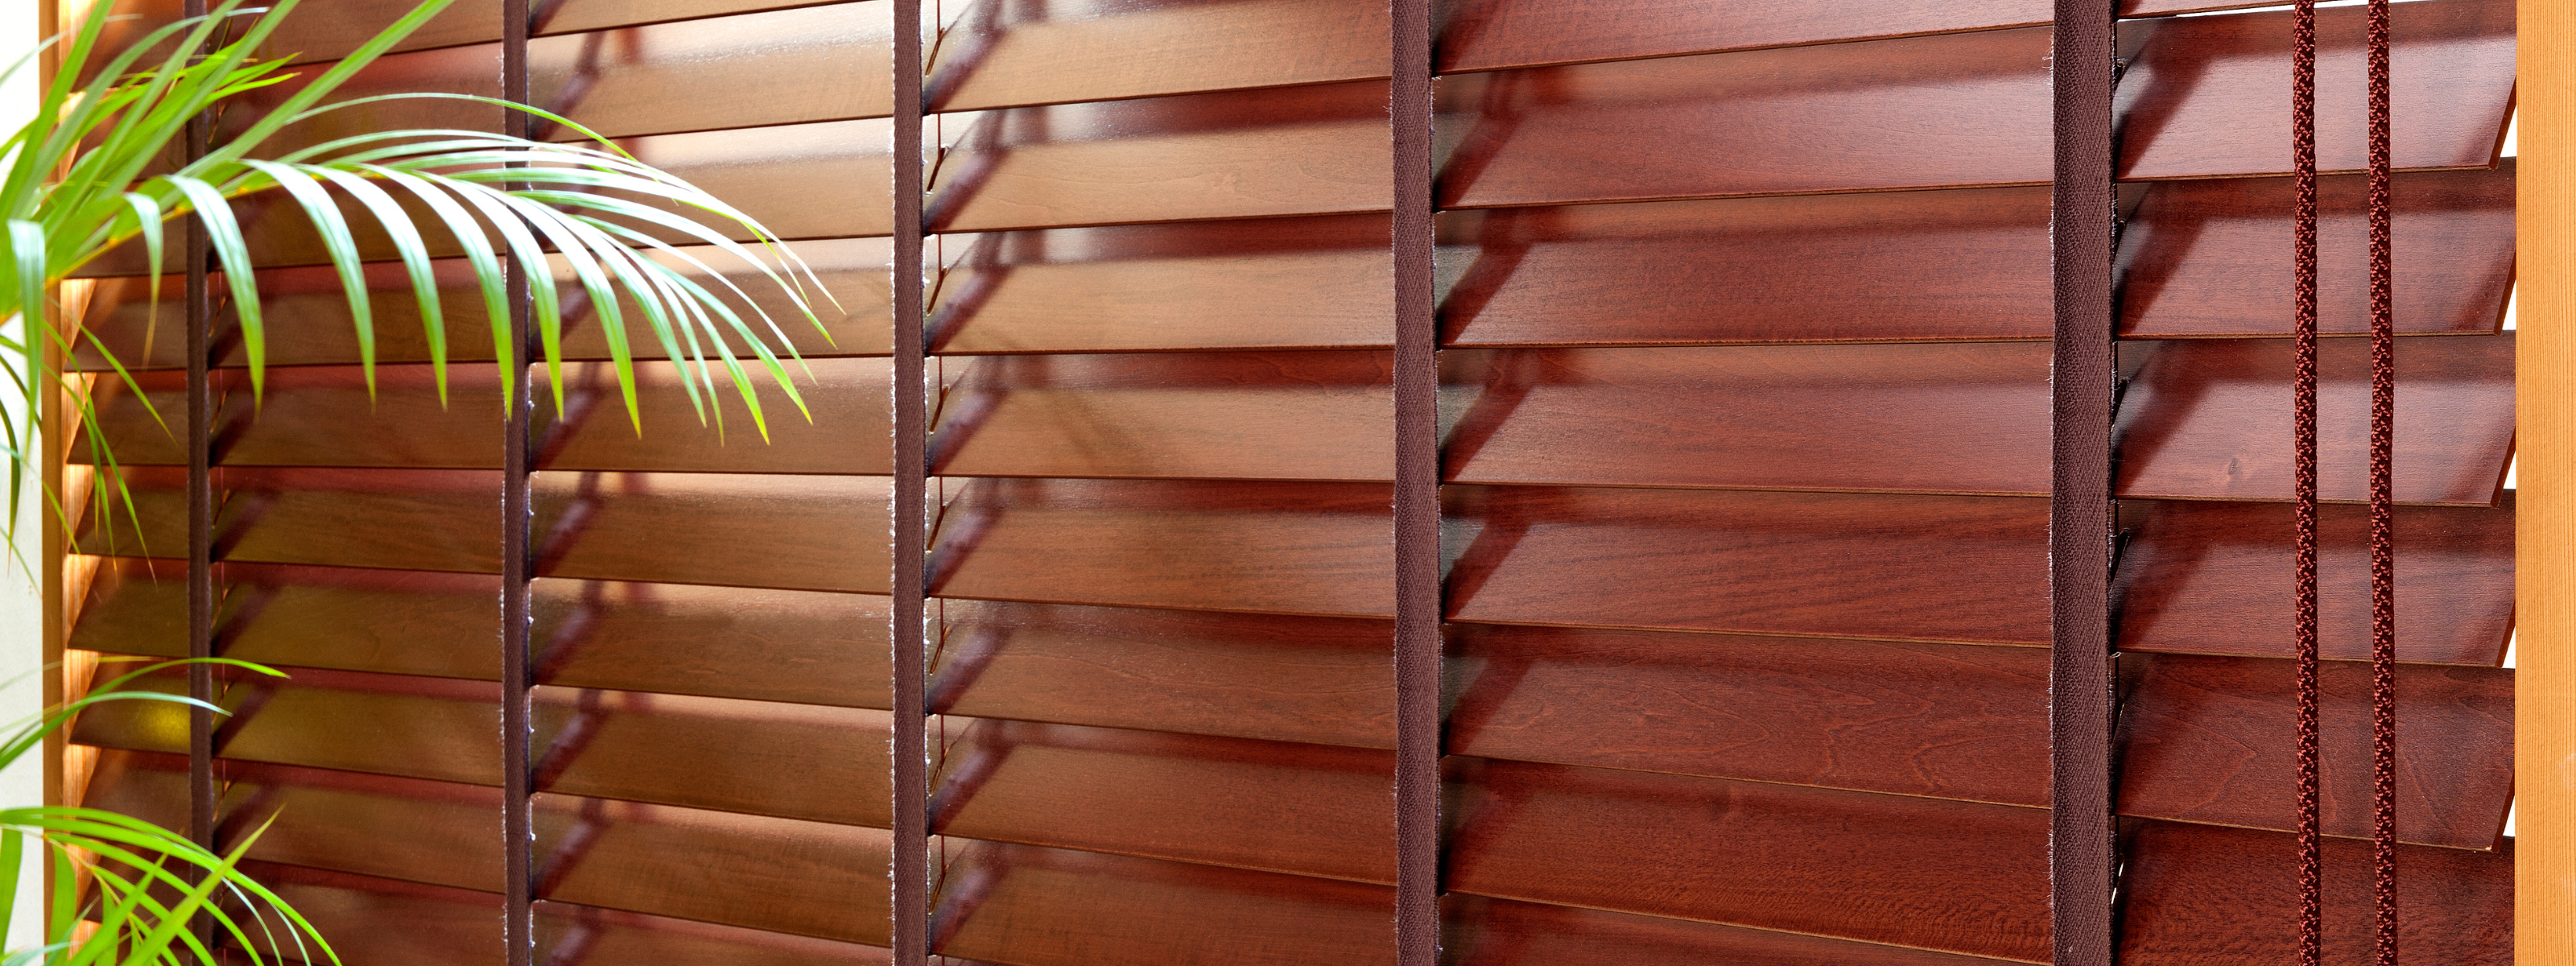
Inside Mount

- Place the first bracket in the upper corner of the window frame, flush with the wall. Mark screw locations and repeat on the other side, ensuring both brackets are even.
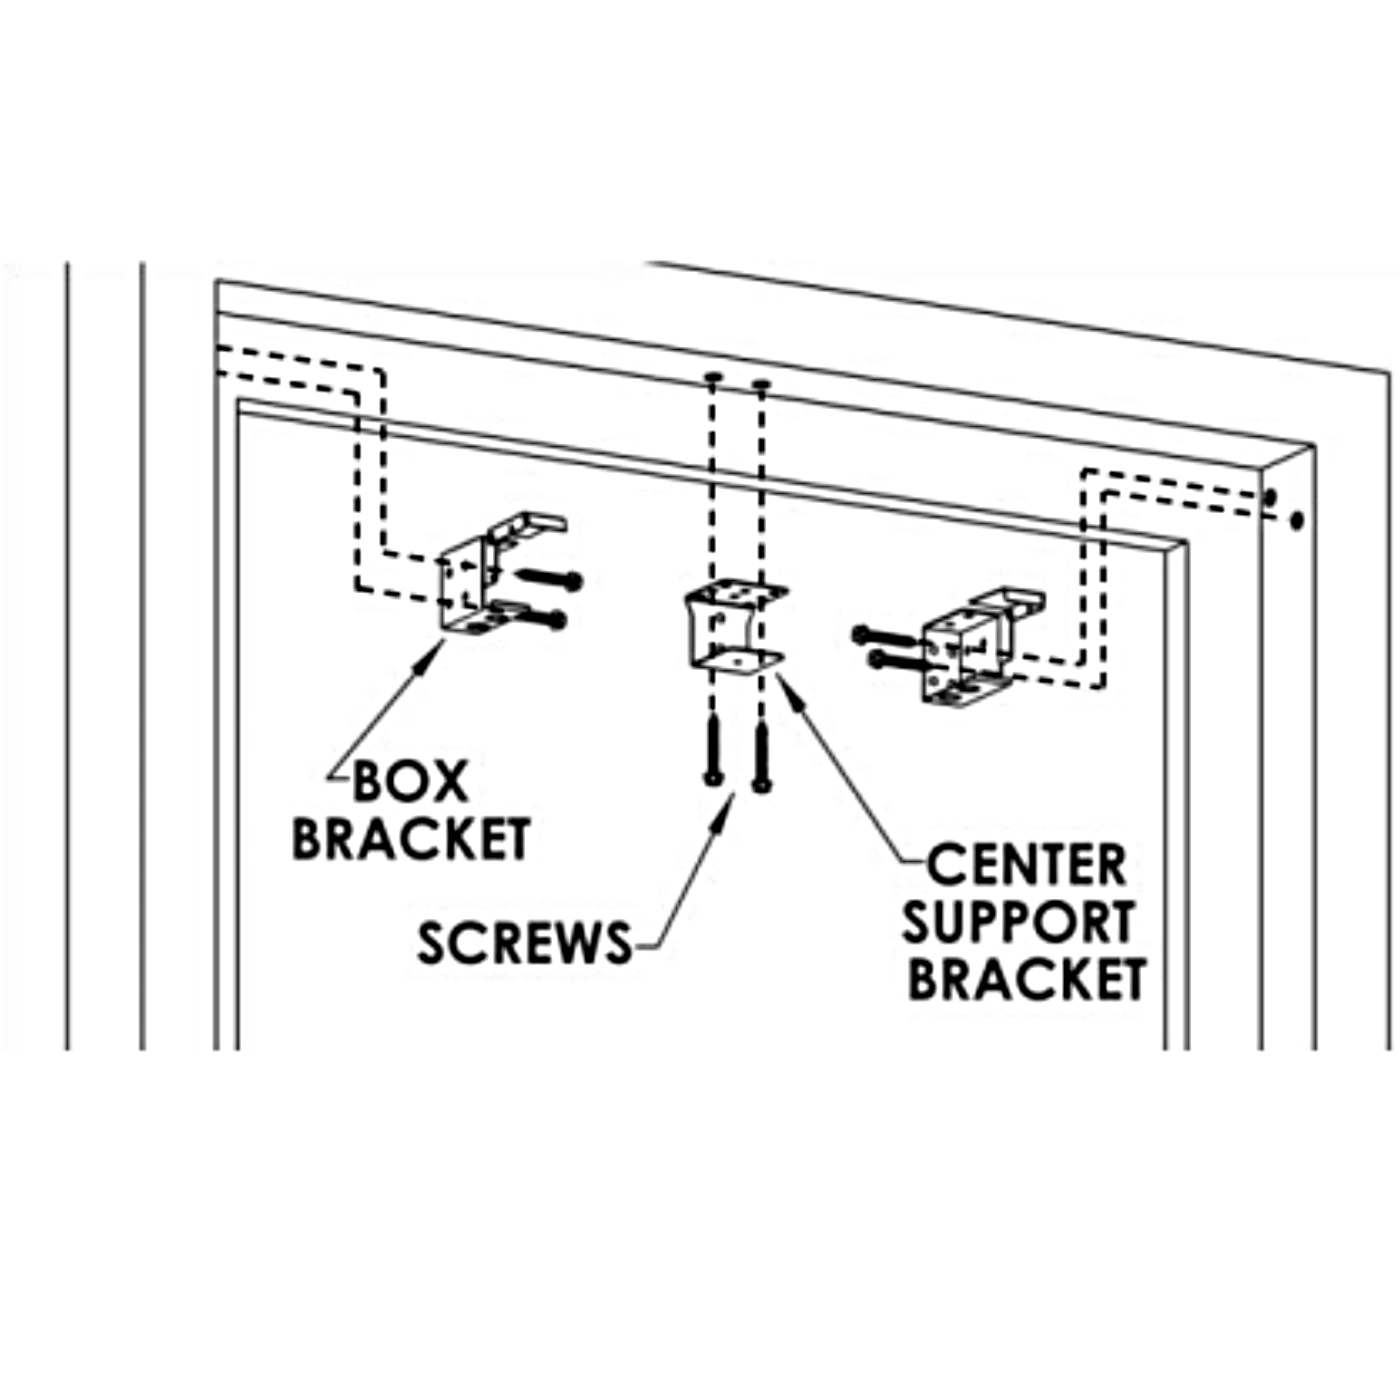
2.Drill pilot holes at the marked locations.Drill screws into the pilot holes to secure the brackets.

3.Slide the headrail into the brackets and secure them. Hook the wand to the top clip. Attach the valance tips if included. Lower and test the blinds for proper installation.
outside Mount
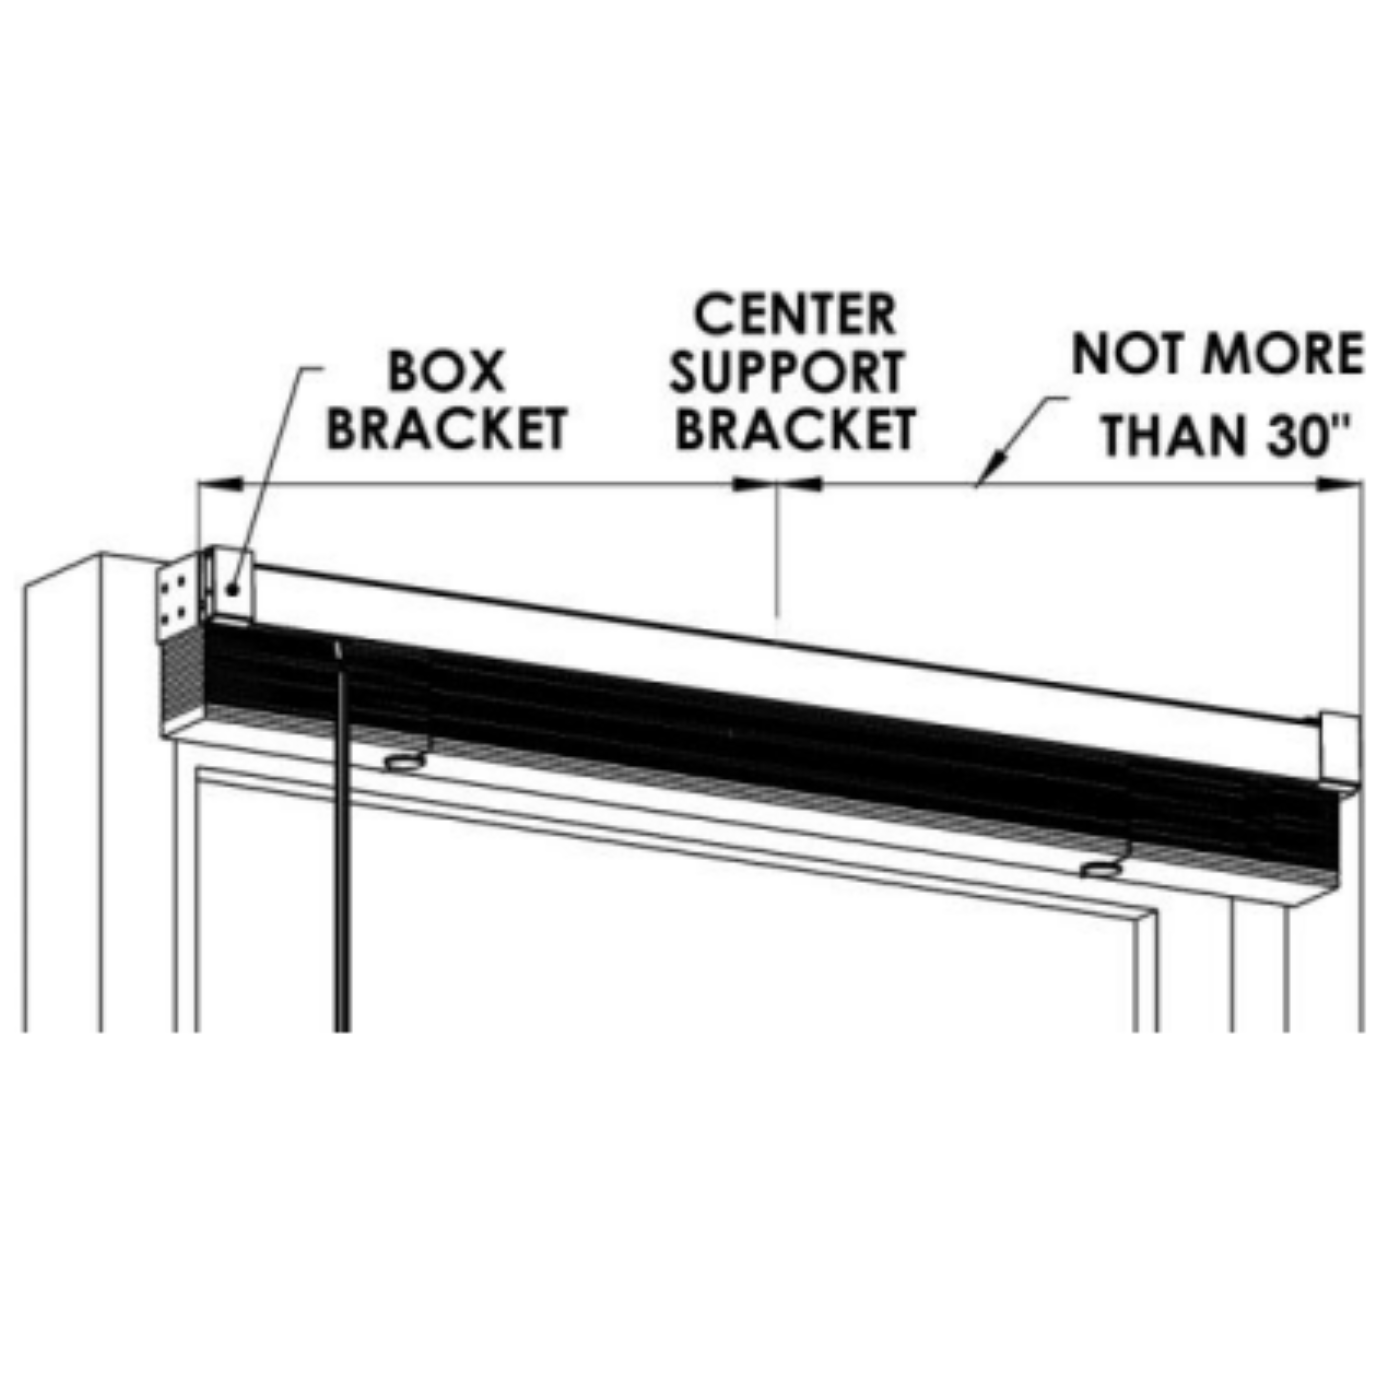
- Mark the blinds' left and right edges on the wall.Align brackets with markings and drill pilot holes.
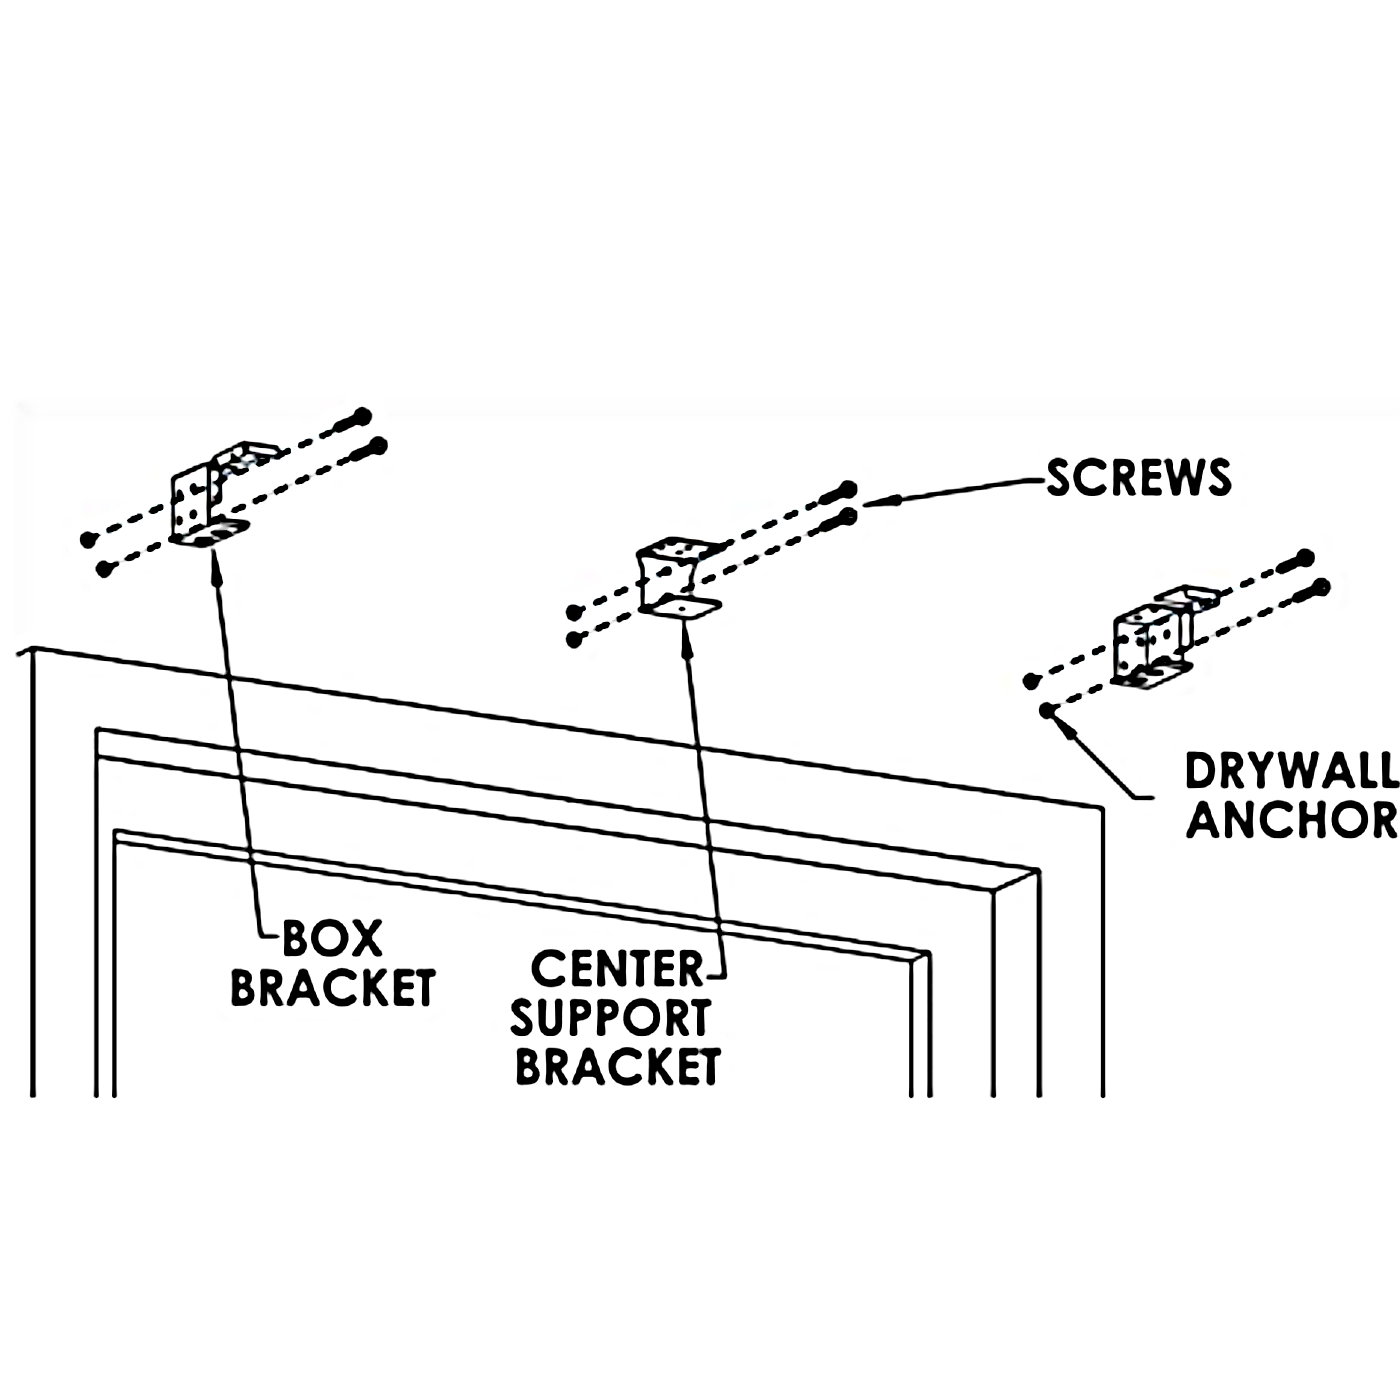
2.Screw brackets into place. Add a center support bracket if needed.Snap valance clips onto the headrail, avoiding interior parts.
3.Slide headrail onto brackets and close covers.Use L brackets for side returns, then snap valance into clips.Lower and test blinds for proper function.
Featured collection
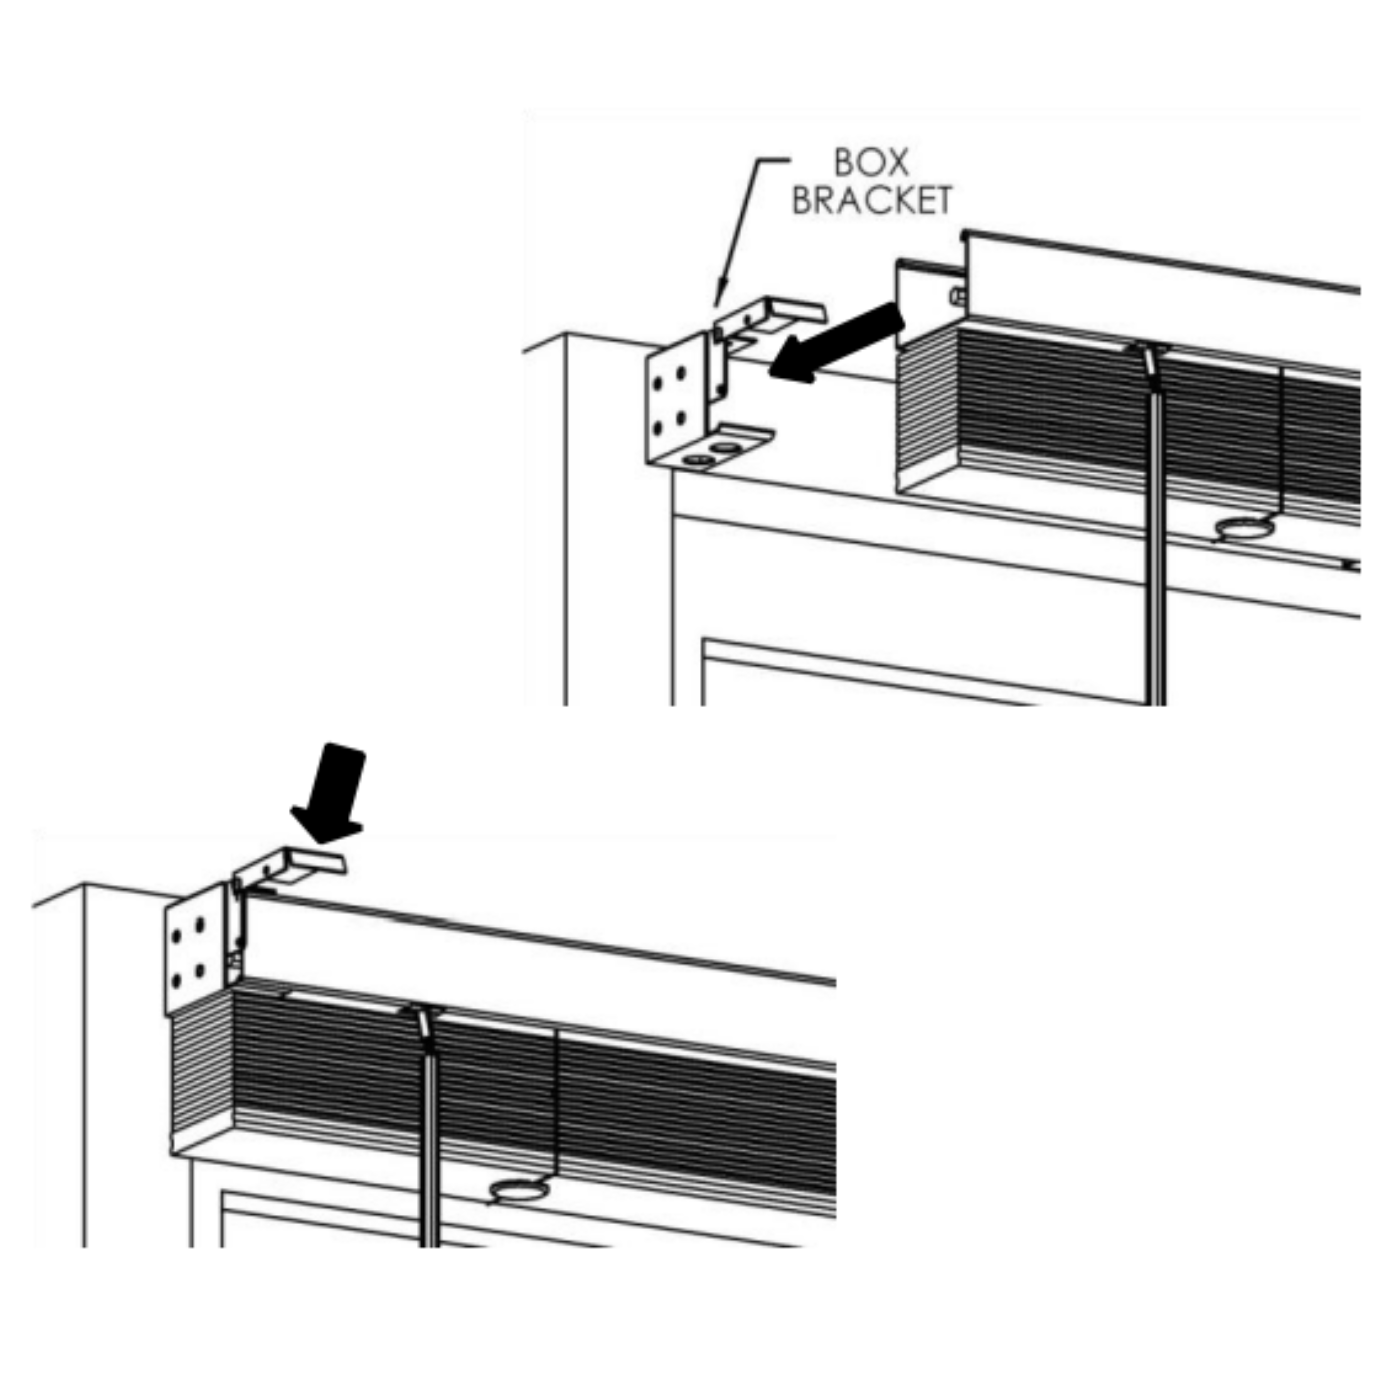
inside Mount
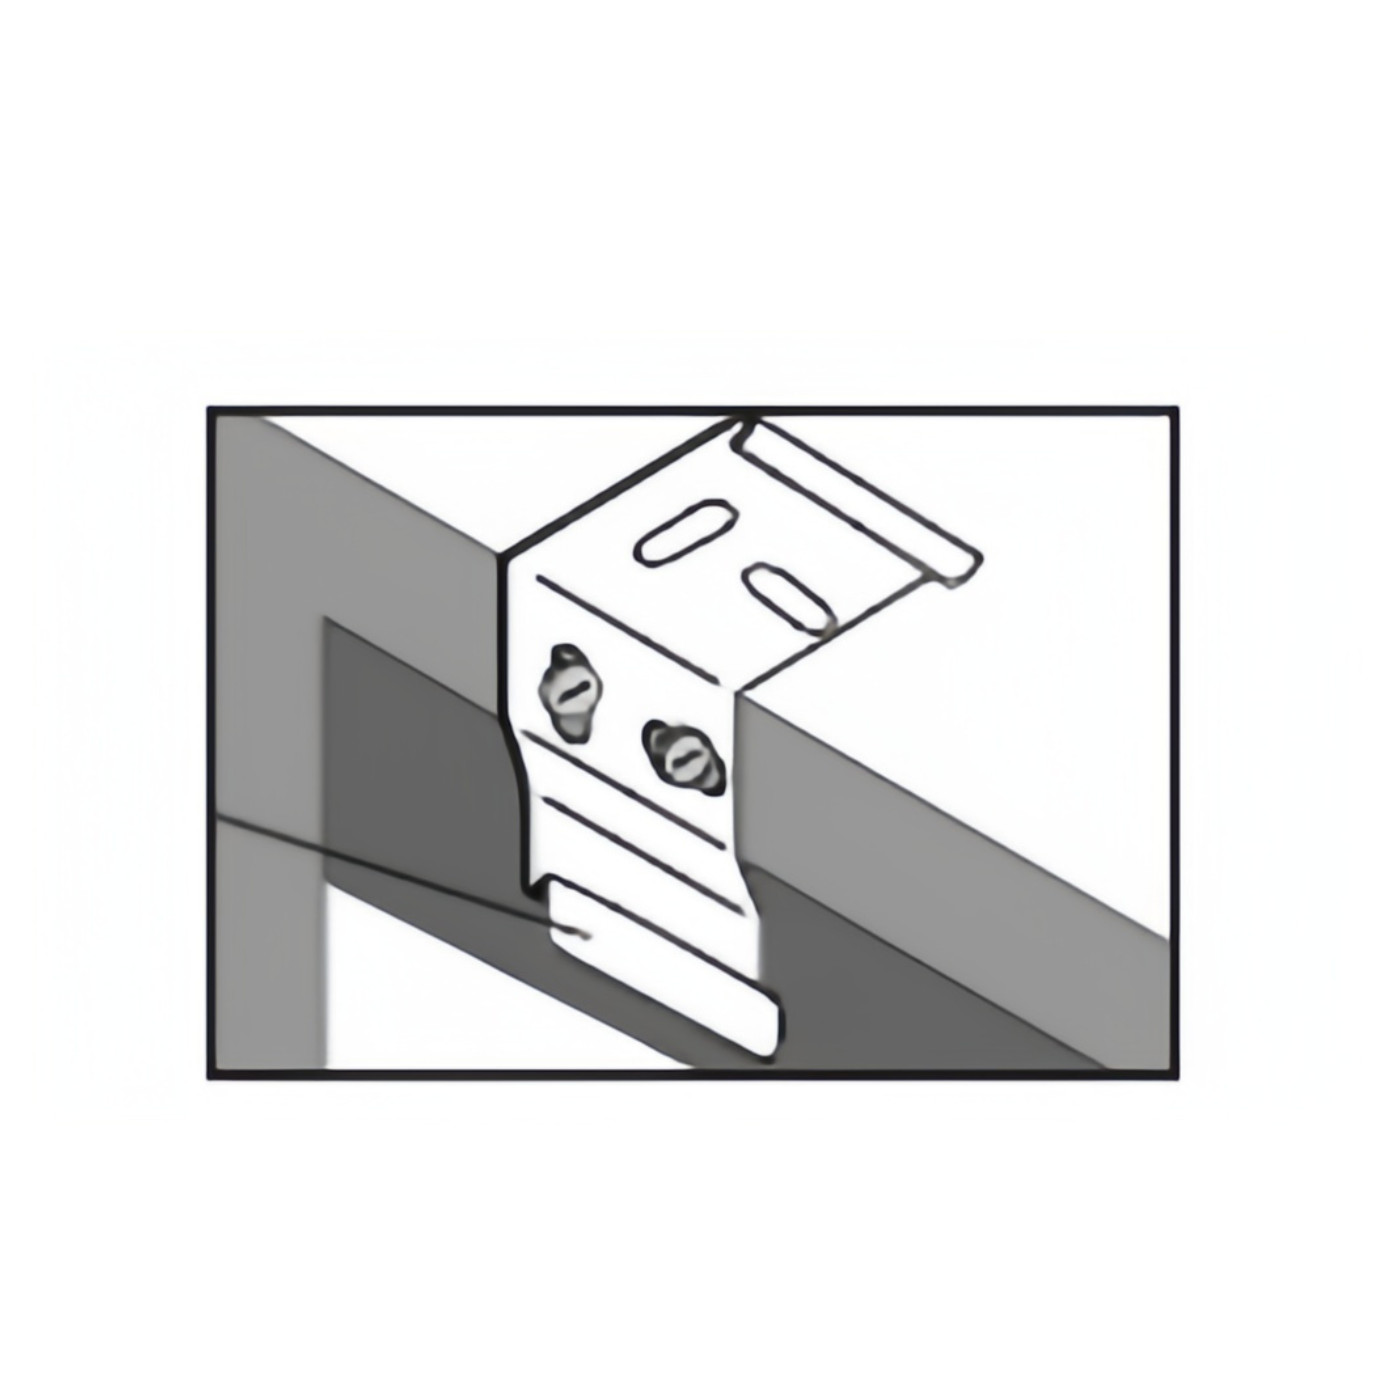
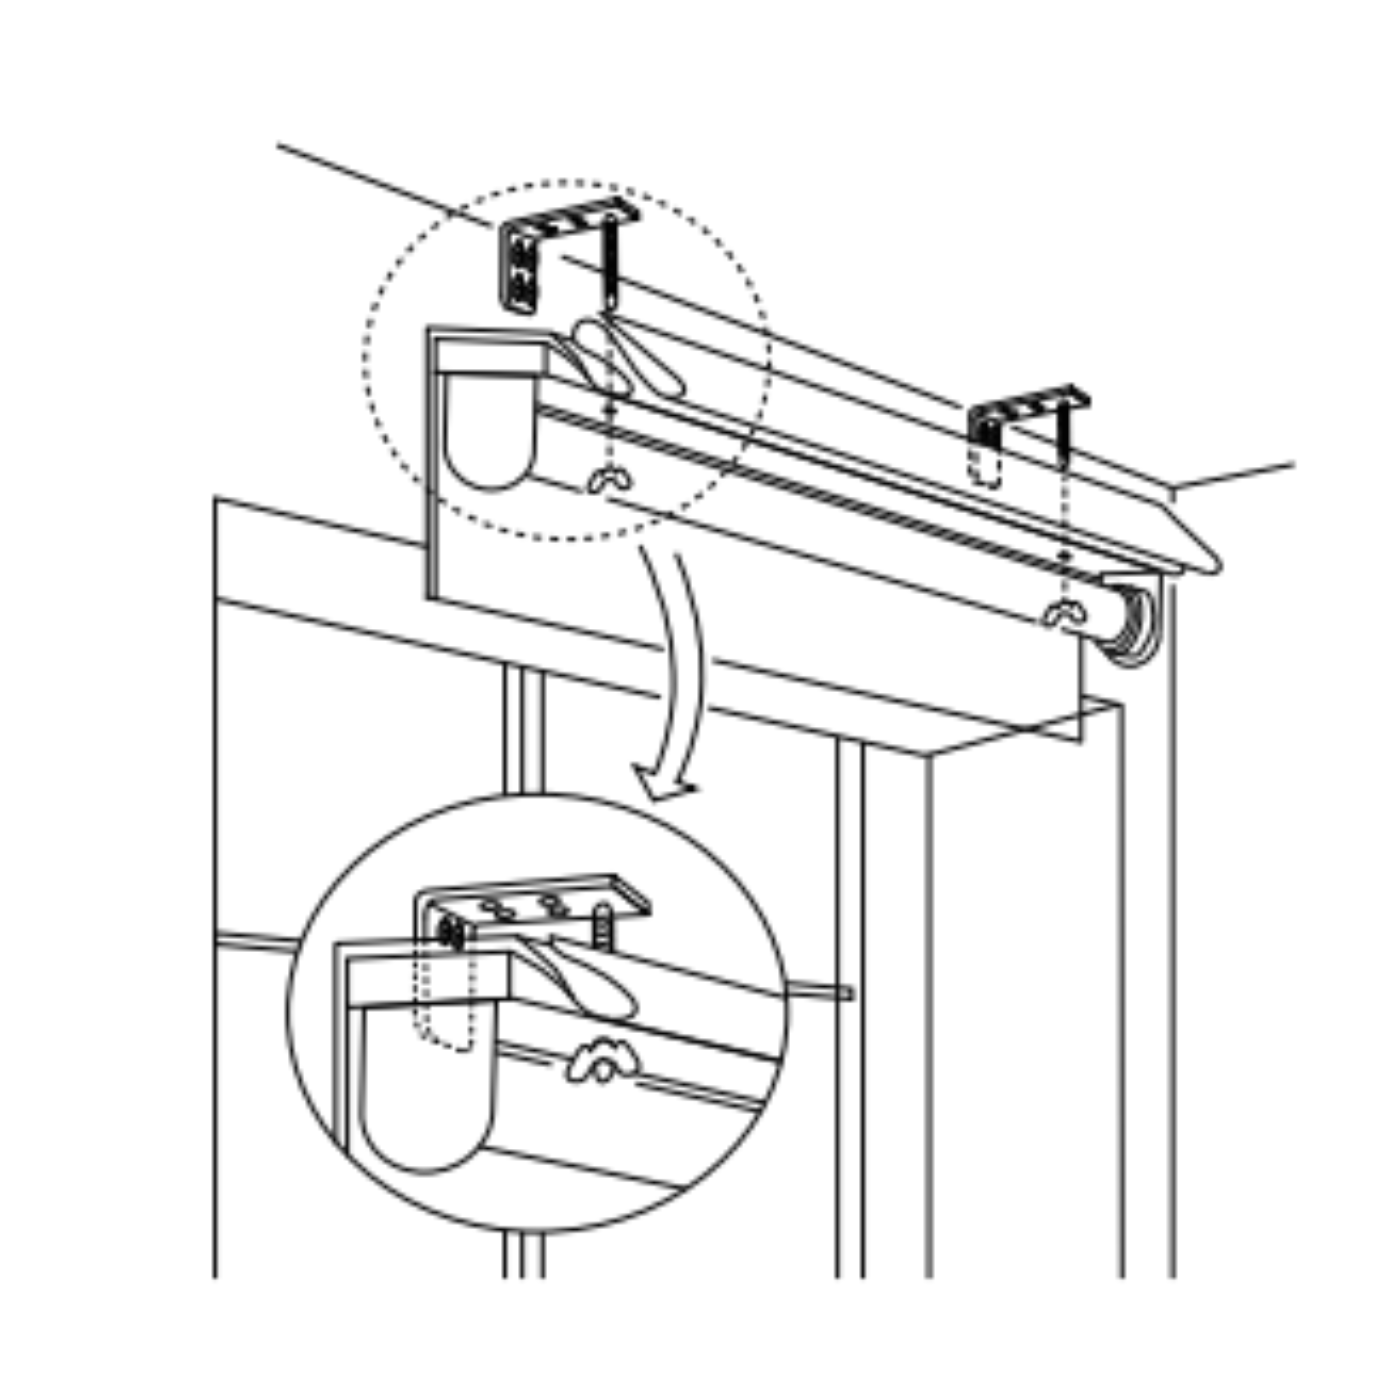
- Measure in from each top corner of the window frame according to the manufacturer's specifications. Mark the bracket positions.
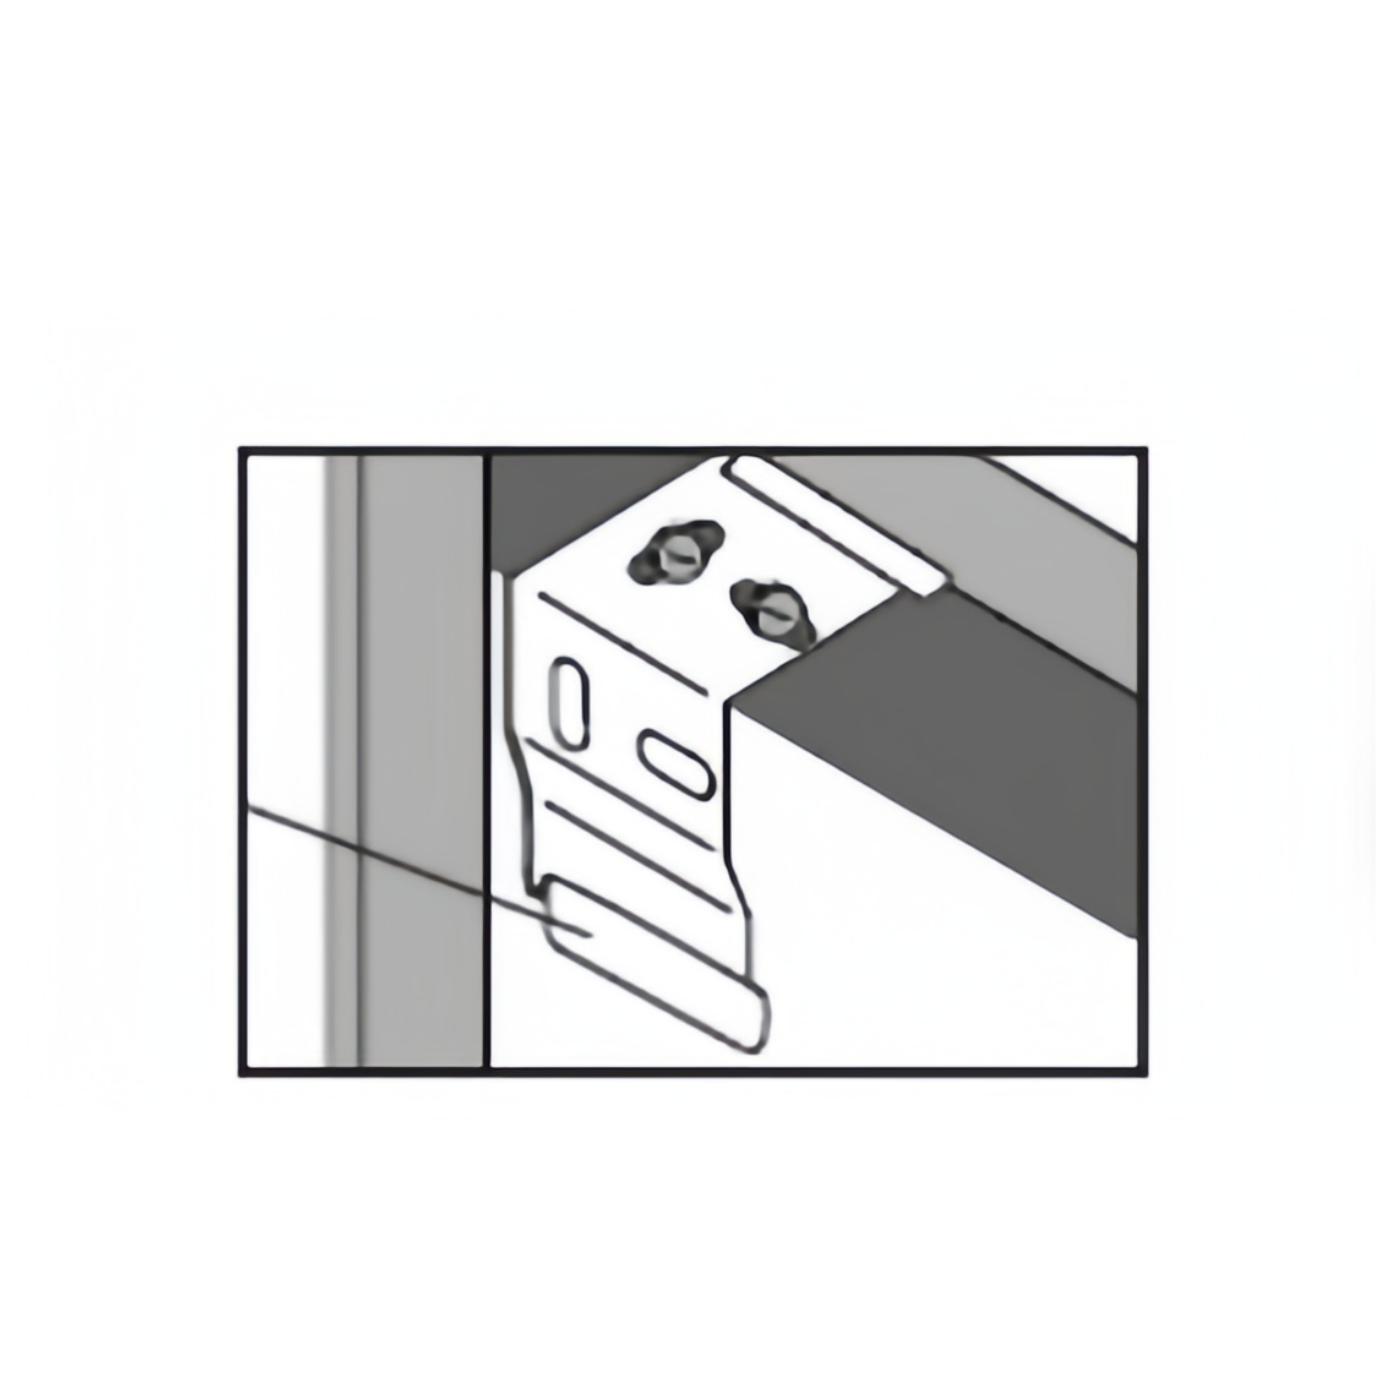
2.Position the brackets above your markings and drill pilot holes where the screws will go.Screw the brackets into place.
3.Raise the shade into the frame and position the headrail into the brackets. Rotate the headrail down until it snaps into place.Lower and test your new shade to ensure proper installation.
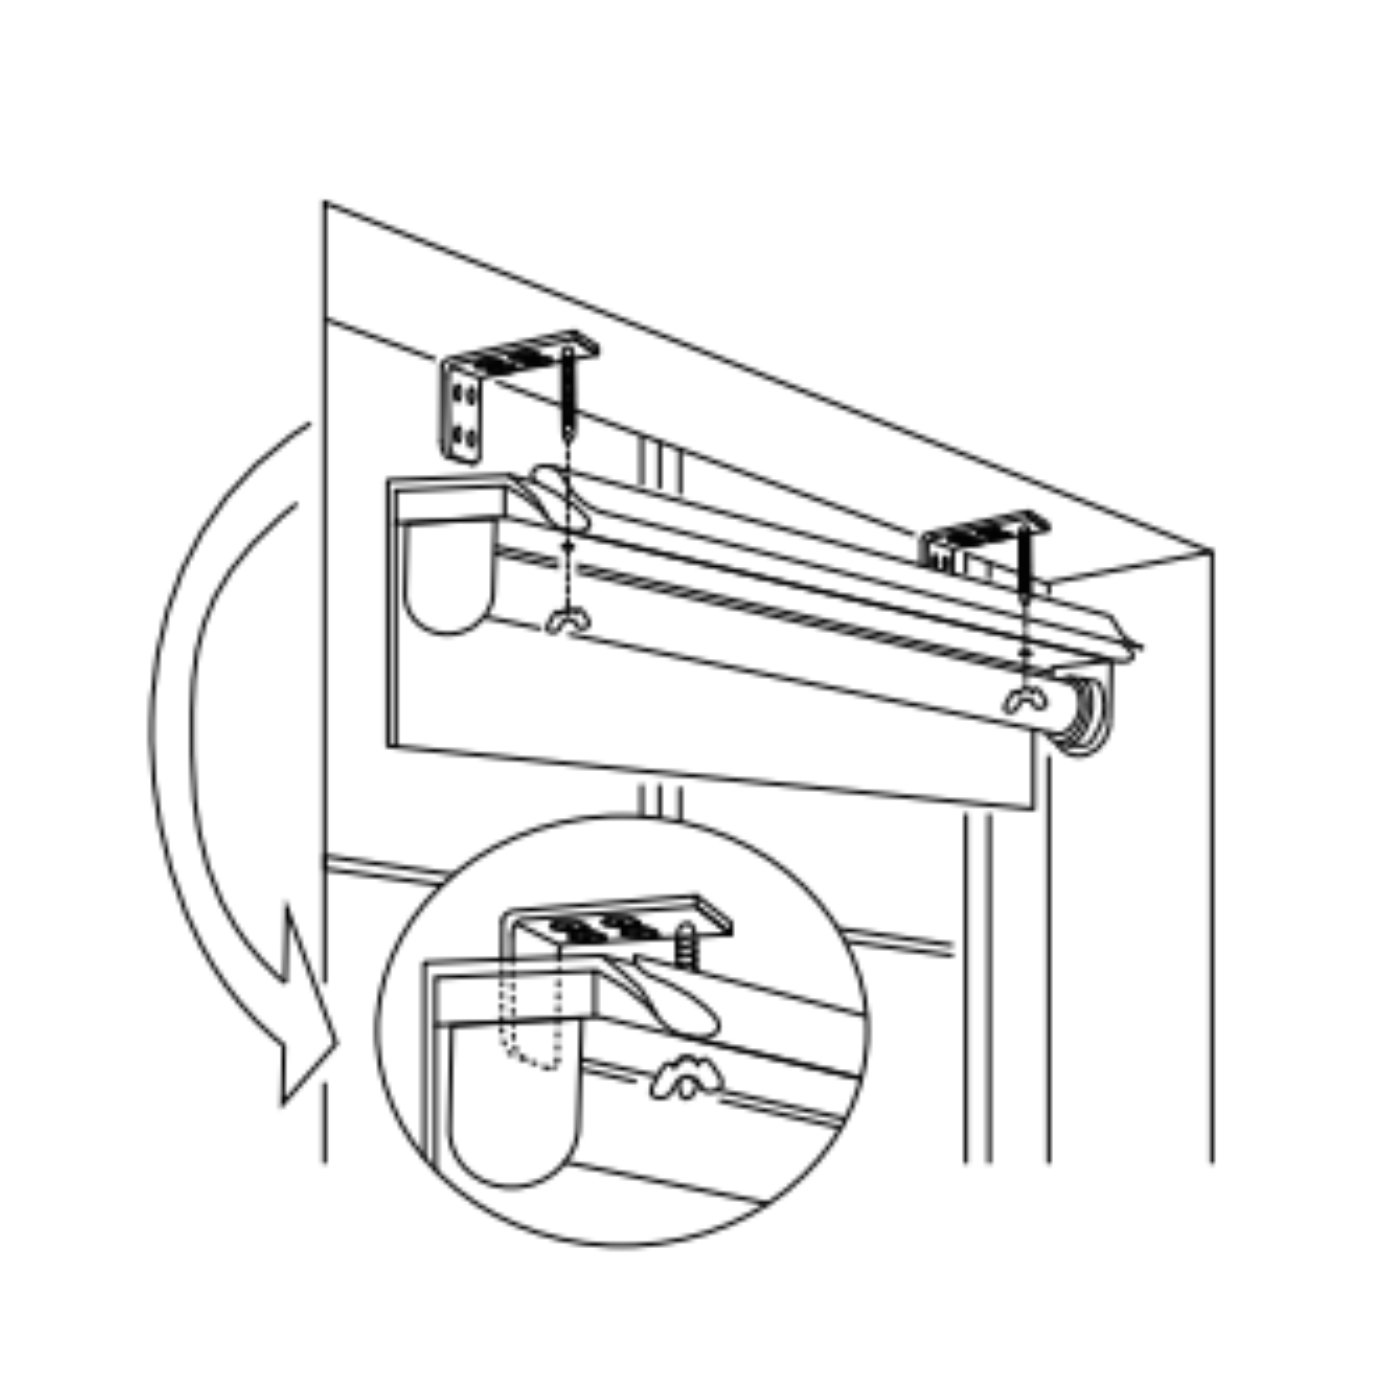
outside Mount
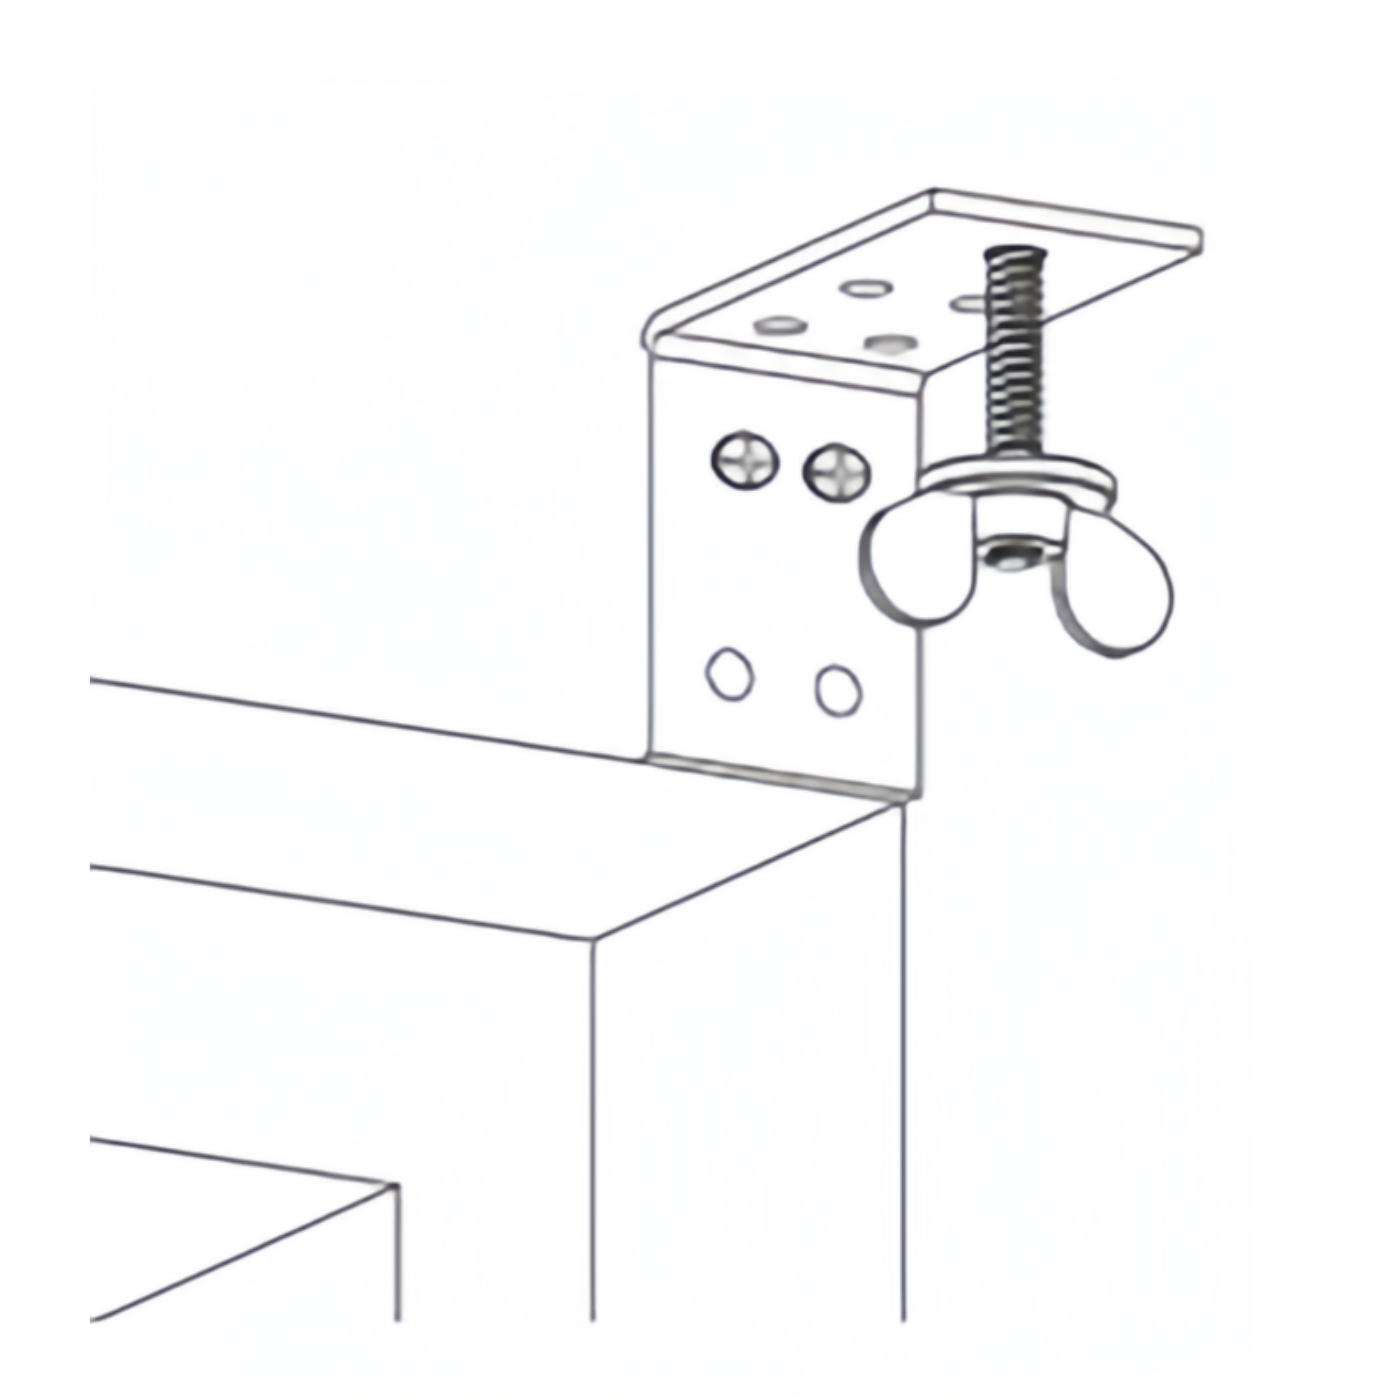
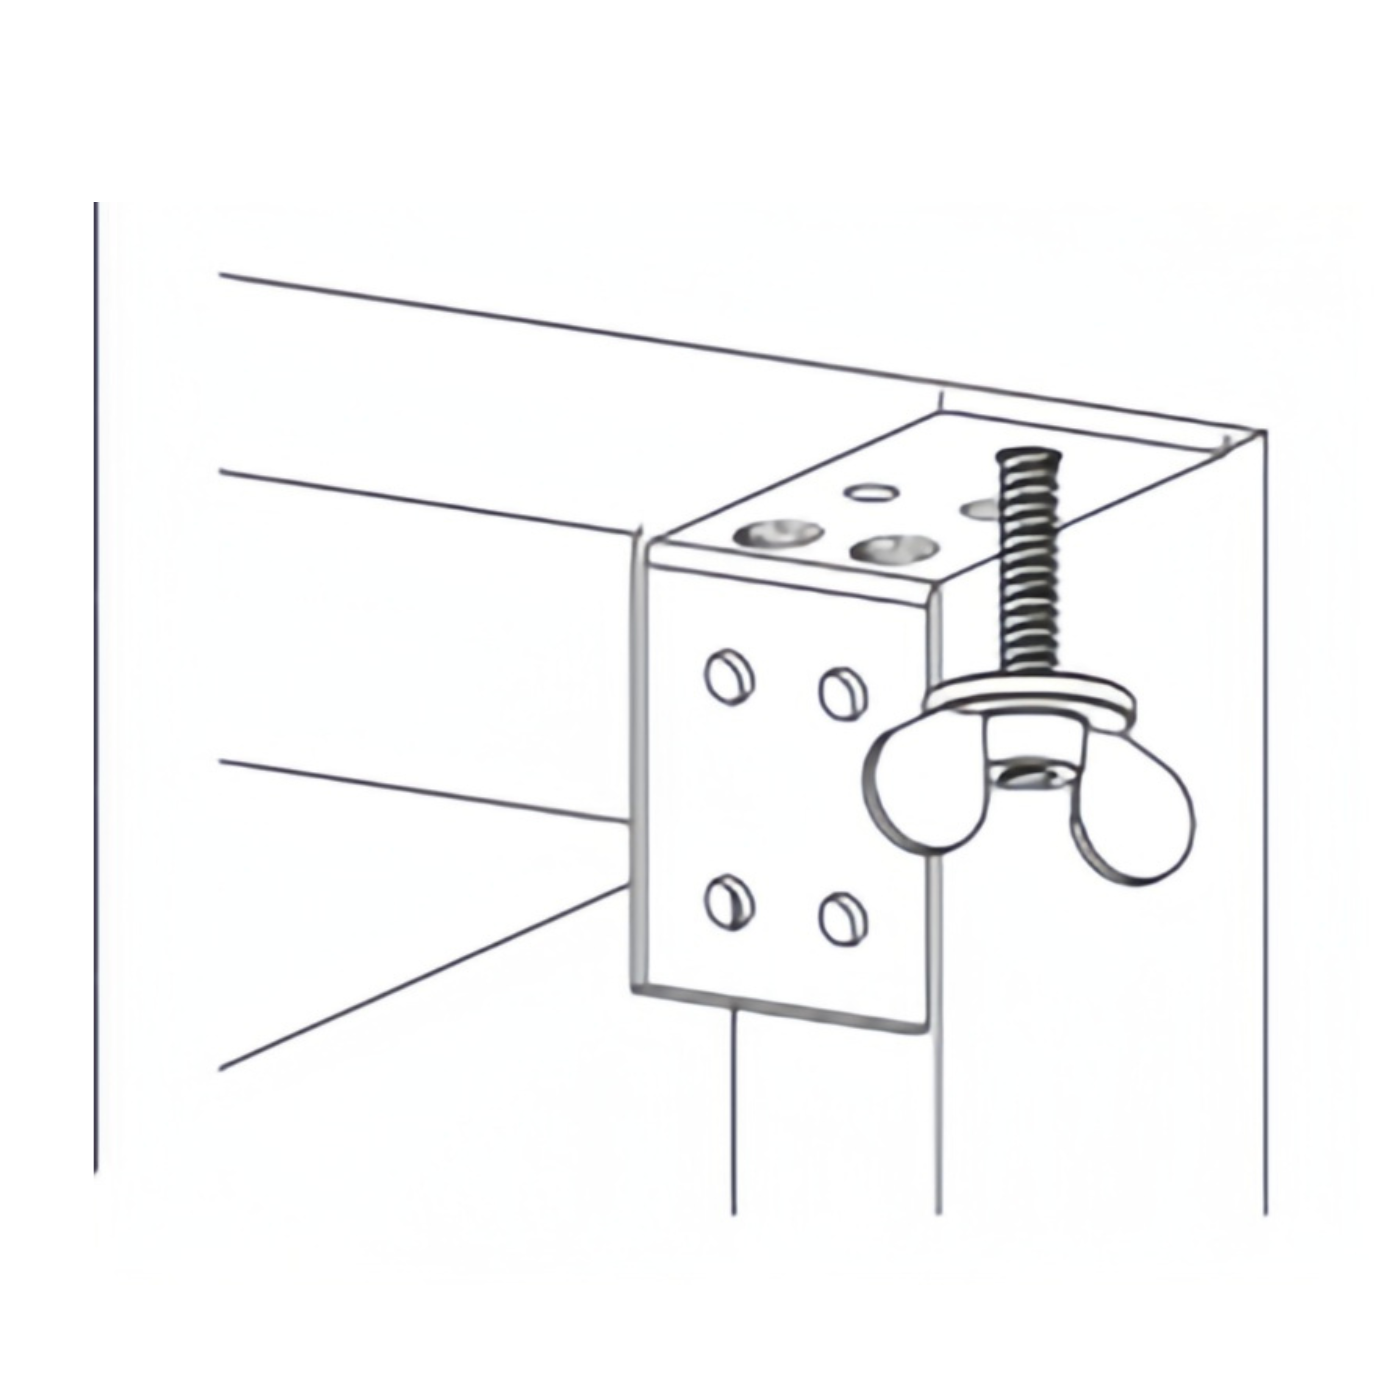
1.Position the shade on the wall and mark the bracket installation points along the top of the headrail with a pencil. Place the brackets along the marks, drill pilot holes, and secure them with screws.
2.Align the headrail with the brackets and push up to secure it, ensuring the threaded posts fit through the slots.
3. Lift the valance, secure the shade with wing nuts, and cover the ends of the headrail with side flats. Lower and test the shade for proper installation.
For More Information
Refer to Your Specific Product
Keep in mind that the steps above are just a general overview of installing blinds&Shades. To get detailed instructions, we strongly encourage you to do one of the following:
- Refer to the installation instructions included in the box with your blinds
- If you’d like to view and/or download instructions online:1.Refer to your purchase confirmation email and click the “Install Instructions” link.2.Visit your product’s page on our website and click “Install Instructions” under the Product Details section
And of course, you can always get assistance from one of our friendly Customer Service associates